Cracks in your asphalt driveway are more than just an eyesore; they're a direct threat to the longevity and safety of your pavement. Left untreated, these small fissures allow water to penetrate the foundation, leading to widespread damage like potholes and the dreaded "alligator" cracking. Proactive asphalt crack repair is the most cost-effective way to protect your investment, extending the life of your driveway and maintaining your home's curb appeal. This guide will walk you through everything from diagnosing crack types to performing a durable, long-lasting DIY repair.
Key Takeaways
- Proactive Repair Saves Money: Fixing small cracks is 20 to 30 times cheaper than repaving a neglected driveway. Early intervention is key.
- Proper Preparation is Crucial: The success of any asphalt repair hinges on cleaning the crack thoroughly. It must be completely free of debris and moisture for the filler to bond correctly.
- Choose the Right Filler: Use flexible, rubberized, or elastomeric fillers for most cracks. Hot-pour fillers are the professional standard for larger cracks, while cold-pour options are convenient for minor DIY repairs.
- Know When to Call a Pro: Widespread alligator cracking or cracks wider than 1/2-inch are signs of foundational failure and require professional attention.
Why Proactive Asphalt Care Is an Investment
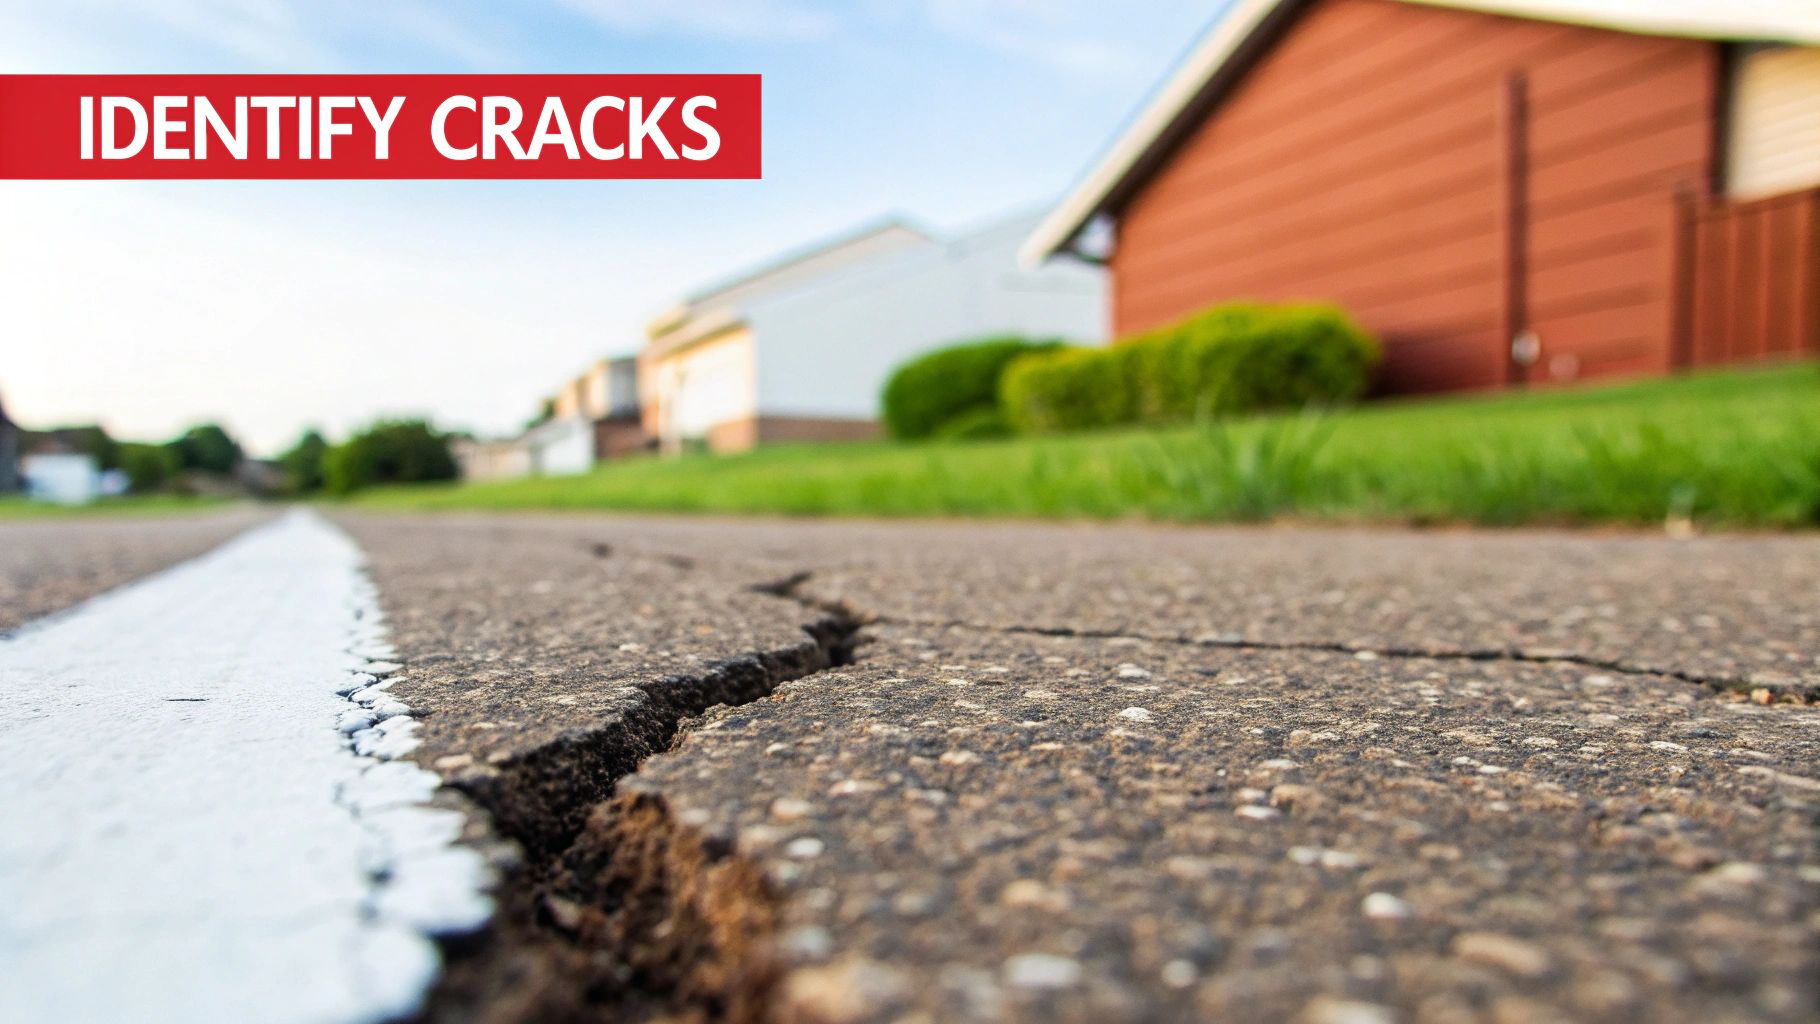
That tiny crack in your driveway might not look like much, but it's a serious warning sign. Here in Arizona, the relentless sun essentially bakes the essential binding oils right out of the asphalt, leaving it brittle and ready to fracture.
Once a crack opens up, it’s a direct channel for water to get underneath the pavement and into the sub-base. This is where the real trouble starts. That moisture softens the foundation, leading to serious structural failures that aren't so easy to fix.
Proactive asphalt crack repair is hands-down the most effective way to protect your investment. Tackling cracks when they're small is 20 to 30 times less expensive than completely repaving a surface that's been ignored. It’s a small effort that prevents a total disaster.
It's no different from other routine home maintenance. You follow a roof maintenance checklist to catch leaks before they destroy your ceiling, right? Well, sealing cracks in your driveway stops the foundational rot before it can ever take hold.
The True Cost of Neglect
Putting off crack repair does more than just let the problem fester; it puts the deterioration on the fast track. When you leave those small fissures alone, here's the chain reaction you can expect:
- Water Intrusion: Every time it rains or the sprinklers run, water works its way into the sub-base, turning the solid soil and gravel foundation into mush.
- Expansion and Contraction: That trapped water expands and contracts with temperature swings, forcing the cracks wider and wider over time.
- Accelerated Damage: Eventually, the weakened area can't support the weight of vehicles and begins to crumble, forming potholes and the dreaded "alligator" crack pattern.
This vicious cycle turns what could have been a simple, cheap filling job into a massive, costly reconstruction project. Your driveway is a huge part of your home's functionality and curb appeal, and exploring various paved driveway designs can even boost its value—but only if the foundation is sound.
Benefits Beyond the Obvious
Good maintenance isn't just about saving a buck on future repairs. A smooth, well-kept driveway seriously boosts your property's curb appeal, making the whole place look sharp and cared for.
It's also a matter of safety. You're getting rid of tripping hazards for your family and guests and reducing the risk of tire damage for your cars. When you grasp the 'why' behind asphalt repair, you start thinking proactively instead of reactively. That simple shift in mindset is what keeps your driveway a durable, attractive asset for years to come.
How to Diagnose Common Asphalt Cracks
Before you can fix a crack in your asphalt, you have to play detective. Every crack tells a story about what’s going wrong, not just on the surface but deep down in the foundation. Getting this diagnosis right is the difference between a patch that lasts a few months and a real repair that protects your driveway or parking lot for years.
Think of it like this: you wouldn't take medicine without knowing what’s wrong. The same goes for asphalt. Identifying the type of crack helps you pick the right tools and materials, saving you from wasting time and money on a fix that doesn’t tackle the root cause.
This simple decision guide really gets to the heart of asphalt maintenance. When you see damage, act on it.
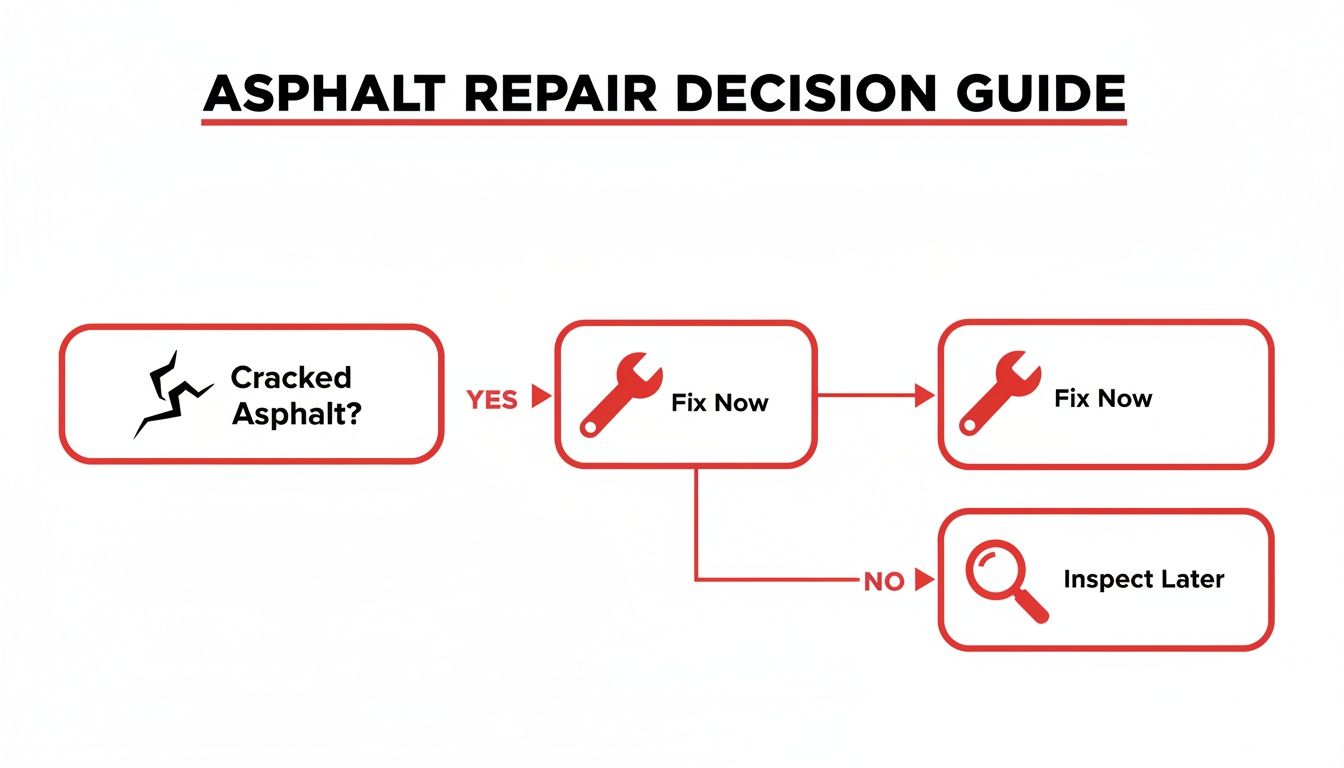
The flowchart makes one thing clear: the best time to fix a crack is right now. Putting it off only leads to bigger, more expensive problems down the road.
To help you get started, I've put together a quick diagnostic chart. It's a handy reference for figuring out what you're looking at, why it happened (especially here in Arizona), and how quickly you need to act.
Asphalt Crack Diagnostic Chart for Homeowners
| Crack Type | Visual Appearance | Common Causes | Urgency Level |
|---|---|---|---|
| Hairline Cracks | Fine, shallow lines, like spiderwebs. Less than 1/8-inch wide. | Sun/UV damage, natural aging, and oxidation. | Low – Fix within the season. |
| Alligator Cracks | Interconnected cracks forming a pattern like reptile scales. | Foundation failure; the base can no longer support weight. | High – Needs immediate professional attention. |
| Block Cracks | Large, rectangular cracks, often a foot or more across. | Asphalt shrinking and expanding due to temperature swings. | Medium – Address before winter. |
| Edge Cracks | Cracks running along the outer 1-2 feet of the pavement. | Poor edge support, water runoff, soil erosion. | Medium – Seal to prevent crumbling. |
| Joint/Seam Cracks | Straight-line cracks where two sections of pavement meet. | Poorly bonded construction joint. | Low-Medium – Seal to prevent water entry. |
With this chart, you can quickly get a sense of what you're dealing with. Just match what you see on your driveway to the descriptions to get a solid starting point for your repair plan.
Spotting Surface-Level Issues
Many of the cracks you'll see are just skin deep, caused by everyday stress and aging. These are the ones you can often tackle yourself, especially if you catch them before they let too much water seep in.
You're mainly looking for hairline cracks (those tiny, thread-like lines) and block cracks (the ones that form big rectangular patterns). Both are classic signs of aging asphalt that’s become brittle from years under the sun. They're basically an open invitation for water to get in and start causing real trouble underneath. A solid asphalt crack repair plan always starts with sealing these up fast.
When Cracks Signal Deep Trouble
Then there are the cracks that scream "big problem." These aren't just surface-level annoyances; they're symptoms of a failing foundation. Ignoring them is a guaranteed path to potholes and a crumbling driveway.
The biggest red flag you can find is alligator cracking. If you see a pattern that looks like the scales on a gator's back, it means the sub-base has failed. It can no longer support the weight above it, and the asphalt is literally breaking apart under the strain.
Slapping some filler in these cracks is pointless. The unstable ground underneath will just keep shifting, and new cracks will pop up right next to your patch. This is a clear signal that you need to call a professional.
Other Common Cracks to Know
A few other patterns pop up, each with its own story.
- Edge Cracks: These run along the sides of your pavement. They usually happen because the edge doesn't have proper support and is slowly crumbling away from soil erosion or vehicles driving on it.
- Longitudinal Cracks: These are long cracks that run parallel to the length of your driveway. They often point to a weak joint from when the pavement was laid or are simply a result of long-term fatigue.
Knowing what you're looking at is empowering. A hairline crack might just need a simple bottle of pourable filler from the hardware store. That sprawling patch of alligatoring, however, means it's time to bring in the pros to rebuild the failed section from the ground up. By getting the diagnosis right from the start, you give your repair the best possible chance of success.
Getting the Asphalt Crack Repair Process Right
A solid asphalt crack repair is all about the details, not brute force. I always tell people to think of it like surgery, not demolition. The precision you put into every stage—from prep to application to letting it cure—is what determines if your fix lasts a single season or for years to come. This is where a little extra effort upfront pays off big time, turning a quick patch into a long-term solution.
Phase 1: Meticulous Preparation is the Foundation
Just hitting a crack with a leaf blower is the most common mistake I see, and it’s a surefire way to make sure your repair fails. For asphalt filler to stick, it needs a perfectly clean surface. Any bit of dust, moisture, or grass left behind acts as a bond-breaker, preventing the sealant from getting a good grip on the asphalt walls.
Your goal is to create a clean, dry, and solid channel for the filler. That means you have to get a little aggressive.
- Initial Pass: Start with a stiff wire brush and maybe a flathead screwdriver to dig out all the packed-in dirt, weeds, and any loose asphalt chunks.
- Deep Clean: If you want a pro-level result, grab an angle grinder with a wire wheel. This thing scours the inside walls of the crack, getting rid of old, oxidized asphalt and creating a nice, rough texture for the new filler to latch onto.
- Final Removal: After all the heavy-duty cleaning, use a high-powered air compressor or a shop vac to blast out every last speck of dust.
A lot of people are tempted to skip the deep cleaning, but that's where most DIY repairs go wrong. If the filler can't bond to solid asphalt, it's going to pull away in a few months, and you'll be right back where you started. That extra 15 minutes makes all the difference.
Moisture is the other killer of a good repair. The crack needs to be bone dry before you even think about applying filler. Here in Arizona, a few hours of direct sun will usually do the trick, but for deeper cracks, I’ll often use a propane torch or a heat lance to quickly flash-dry any lingering dampness.
Phase 2: Application—Choosing Your Weapon
Once the crack is perfectly prepped, you're ready to fill it. Your two main choices are hot-pour and cold-pour fillers. The right one really depends on the crack you're dealing with, our Arizona climate, and what you're willing to spend.
Hot-Pour Rubberized Fillers: The Professional Standard
Hot-pour is what the pros use, and for good reason. It comes in solid blocks of rubberized asphalt that get melted down in a special kettle and poured at around 350-400°F.
That intense heat lets the material seep deep into the crack and fuse with the existing asphalt. As it cools, it creates a flexible, waterproof seal that can expand and contract with the temperature—absolutely critical for dealing with Arizona's dramatic heat swings. This elasticity is exactly why hot-pour is the go-to for bigger, active cracks (anything wider than a quarter-inch) and in high-traffic zones.
Cold-Pour Fillers: The Convenient DIY Option
Cold-pour fillers are the liquid products you find in pourable jugs or caulk tubes at the hardware store. They're super convenient and a great choice for homeowners tackling small hairline cracks (less than 1/4-inch wide).
While they’re easy to work with, most cold-pour products just don't have the same flexibility or staying power as hot-pour. They tend to get brittle over time and can fail in cracks that shift a lot. Still, for a quick and simple fix on minor surface issues, they're a perfectly fine and accessible option.
Preventative maintenance is a huge deal—so huge that the global market for these fillers is projected to hit $3.3 billion by 2033. Neglecting cracks can slash the life of your pavement by up to 50%. The newer polymer-modified fillers are engineered to handle extreme temperature changes, making them ideal for places where asphalt can top 140°F. You can discover more insights about the growing demand for durable asphalt fillers and current market trends.
Phase 3: The Final Step—Ensuring a Proper Cure
You’ve done all the hard work. You prepped, you filled, and now it's time to protect your investment. The curing process is when the filler really develops its strength and durability. If you rush this part, you can undo all your good work.
Rule number one: keep all traffic off the repair. Check the manufacturer's instructions for the exact cure time, which can be anywhere from a few hours for some cold-pours to a full 24 hours for hot-pour applications. Driving over the filler before it’s fully set will squish it out, leave tire tracks, and wreck the seal.
Finishing Touches for a Repair That Lasts
To keep the sticky filler from getting tracked everywhere by shoes or tires before it’s cured, you can sprinkle a light dusting of sand over the top. Some companies also sell a special detackifying product. This creates a non-stick surface without hurting the filler’s performance.
In our intense summer heat, the filler might stay soft for a while. If you can, try to do your repair work in the cooler morning hours or on a more moderate day to give it a better chance to cure properly. Respect this final phase, and your repair will have the best possible shot at a long, protective life.
Choosing the Right Tools and Materials
Walking into the hardware store for an asphalt crack repair project can feel a little overwhelming. You’re faced with a wall of tubes, jugs, and weird-looking tools, and it's easy to grab the wrong thing and end up with a repair that fails in just a few months. Honestly, picking the right product from the start is what separates a durable, long-lasting fix from a frustrating do-over.
The whole point is to find materials designed to handle the unique stresses your driveway faces. Here in Arizona, that means brutal temperature swings that force asphalt to expand and contract constantly. This is where specialized fillers really earn their keep.
The Heart of the Repair: Fillers and Sealants
Let’s be clear: not all crack fillers are the same. The cheap, generic stuff might look tempting, but it usually lacks the flexibility needed for a lasting repair. It gets brittle fast and just cracks all over again.
For a fix that actually works, you need products with elasticity.
- Rubberized Asphalt Sealants: These are the workhorses of crack repair. They’re infused with polymers that let them stretch and compress as the pavement moves with the temperature. This flexibility isn't just nice to have; it's non-negotiable in our climate.
- Elastomeric Crack Fillers: Think of these as a step up. They're engineered for incredible flexibility and adhesion, creating a watertight seal that moves with the asphalt. This stops water from seeping into the sub-base and causing the real, expensive damage. The concept is a lot like what you'd want in a quality roof leak repair sealant, where flexibility is everything.
Your choice of filler is the single most important decision in this whole process. Spending a few extra bucks on a quality rubberized or elastomeric product is the difference between a temporary patch and a genuine, long-term repair.
Your Essential Shopping List
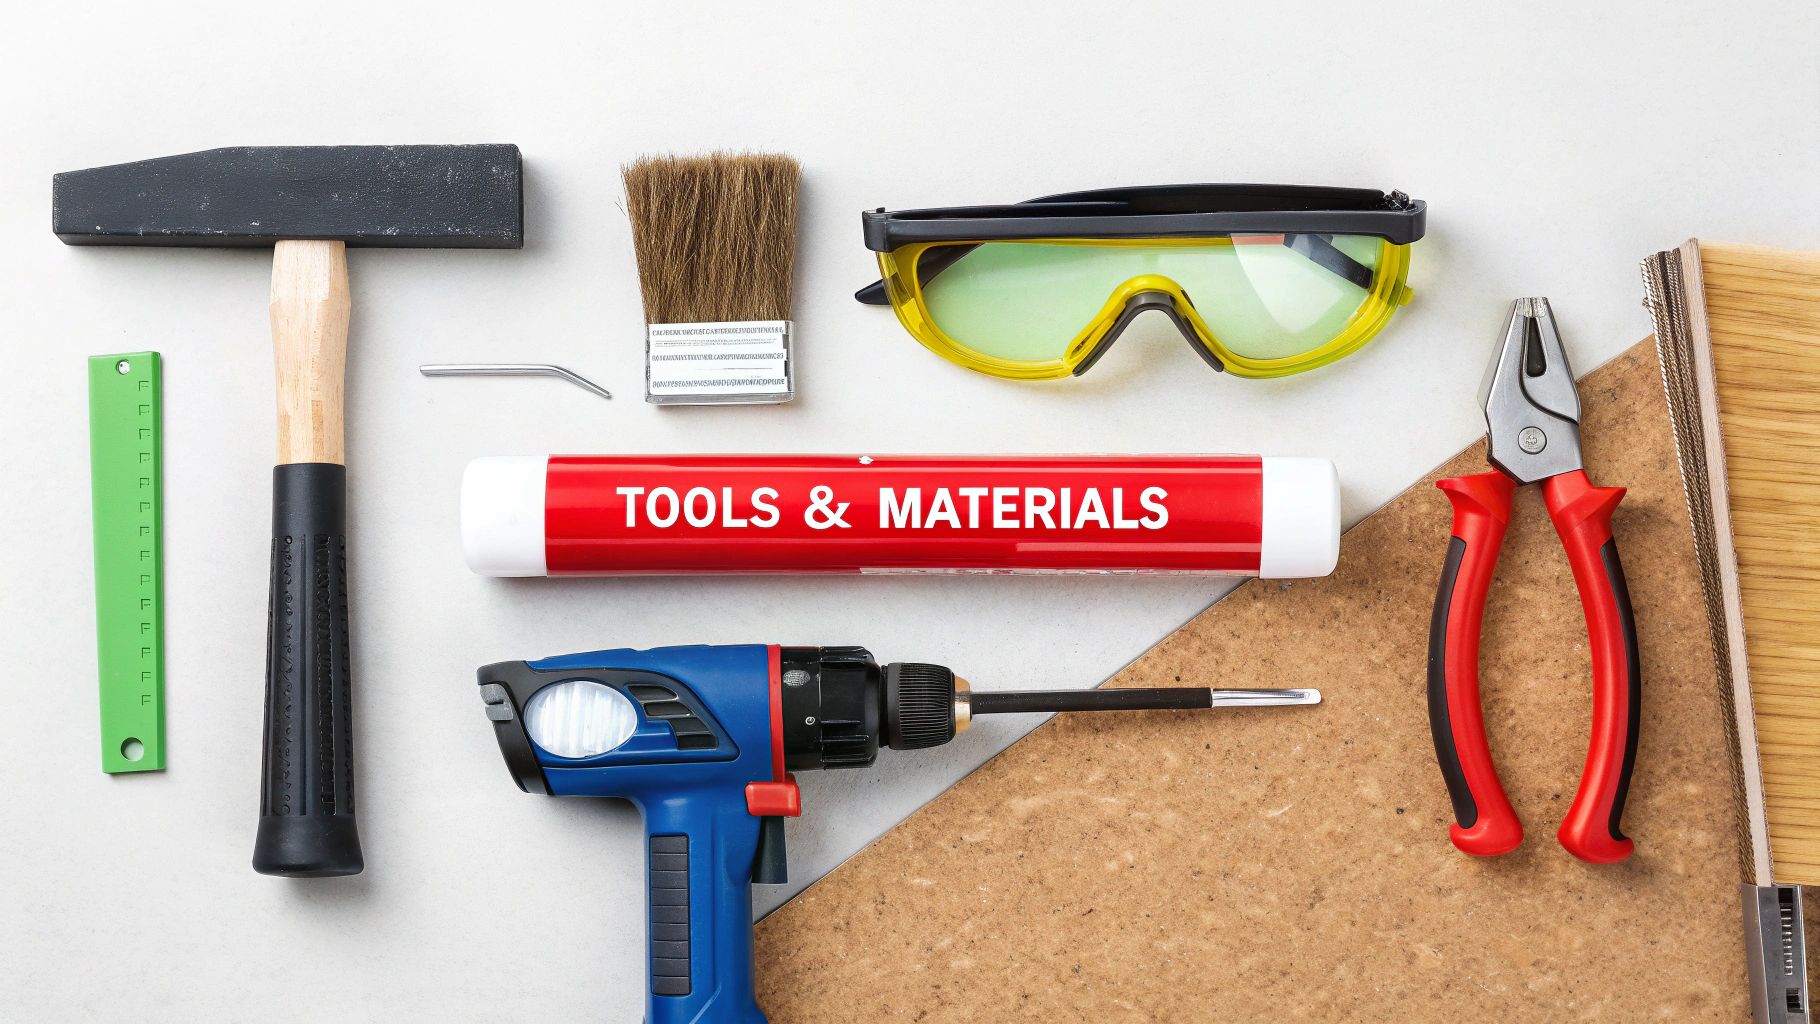
Before you even think about starting, get your gear together. Having everything on hand saves you from those annoying mid-project trips to the store and keeps the job moving smoothly and safely.
Safety First:
- Heavy-Duty Gloves: Protects your hands from scrapes and seriously sticky fillers.
- Safety Glasses: A must-have to shield your eyes from flying debris when you're cleaning out the cracks.
- Knee Pads: Trust me, your knees will thank you later.
Cleaning & Prep Tools:
- Stiff Wire Brush: You absolutely need this for scrubbing dirt and loose bits out from inside the crack.
- Shop Vacuum or Air Compressor: This is the best way to get every last speck of dust out, which is crucial for getting the filler to stick properly.
- Angle Grinder with Wire Wheel (Optional): If you want a pro-level prep job, this tool scours the crack walls, creating an almost perfect surface for the filler to bond to.
Application Tools:
- Caulking Gun: A basic necessity for any filler that comes in a tube.
- V-Squeegee or Trowel: Used to smooth the filler and make sure it’s flush with the surrounding pavement.
- Heat Lance (For the Pros): This tool dries out moisture and warms the asphalt, helping hot-pour fillers bond much more effectively.
Innovative Alternatives: Asphalt Repair Tapes
Beyond the traditional liquid fillers, there's another great option that has really caught on. The asphalt crack repair tape market has ballooned to $1.42 billion by offering a quick, clean, and surprisingly durable solution.
These are essentially peel-and-stick tapes that you fuse to the asphalt with a torch. They bond instantly and can be applied in a massive temperature range—from a freezing -20°F to a scorching 150°F. Even better, these tapes can restore pavement strength to 90-95% of what it was originally and add 4-7 years to its life. It's a testament to their value.
A little background knowledge can also go a long way. Taking a moment for some light reading on understanding road oils and cutback bitumens can give you a better feel for the chemistry behind these products. Knowing what’s in them helps you understand why some materials just work better under certain conditions, making you a much smarter shopper.
When to DIY and When to Call a Pro
Figuring out whether to tackle an asphalt repair yourself or call in a professional is a critical decision. Get it right, and you save yourself some money and get the satisfaction of a job well done. Get it wrong, and you could waste a weekend and end up with a bigger, more expensive mess than you started with.
Honestly, it all comes down to knowing your limits. While I'm a huge fan of DIY for routine upkeep, some jobs just aren't suited for a homeowner with a caulk gun and a bucket of filler. Let's break down when to roll up your sleeves and when to pick up the phone.
The Ideal DIY Scenario
For most homeowners, a DIY approach is the perfect way to handle minor, preventative maintenance. If you're just dealing with a few small, shallow cracks, you can absolutely get this done yourself with materials from any big-box hardware store.
These are the prime candidates for a weekend project:
- Hairline or Minor Cracks: Anything less than 1/4-inch wide that isn't particularly deep is your sweet spot.
- Limited Scope: The damage is just in a few isolated spots, not a web spreading across the whole driveway.
- Solid Foundation: The asphalt immediately around the cracks is still solid and stable. You don't see any crumbling, soft spots, or loose gravel.
For these kinds of fixes, a simple bottle of cold-pour, rubberized crack filler and some basic cleaning tools are all you really need. It's a manageable task that keeps small problems from turning into big ones.
Think of DIY repair as first aid for your driveway, not major surgery. The goal is simply to seal off those little entry points where water can get in and destroy the pavement's foundation.
Red Flags That Demand a Professional
Some asphalt problems are just symptoms of a much bigger issue lurking underneath. Slapping a patch on top is like putting a bandage on a broken arm—it might hide the problem, but it does absolutely nothing to fix the real damage. If you see any of these signs, it's time to call in an expert.
Extensive Alligator Cracking
This is the big one. If your driveway has a network of interconnected cracks that look like a reptile's back, that's a sure sign of sub-base failure. The ground underneath your asphalt can no longer support the weight. No amount of filler from a bottle is going to fix this. A pro will need to cut out the entire failed section and rebuild it from the ground up.
Deep or Wide Cracks
Any crack that's over 1/2-inch wide or so deep you can't see the bottom is out of DIY territory. These larger cracks require specialized hot-pour rubberized sealants that professionals apply with dedicated equipment. There's a reason the global crack sealing market is valued at $0.92 billion—it's because untreated cracks lead to 85% of all pavement deterioration. Professional-grade hot-pour fillers can properly seal cracks up to an inch wide 95% of the time, a performance level you just can't get with cold-pour products. You can read more about the effectiveness of professional crack sealing methods to see the difference it makes.
Structural and Safety Concerns
If you're dealing with large potholes, major heaving or sinking, or widespread crumbling, you've moved past simple repair and into a structural failure. These issues often demand heavy machinery and a deep understanding of asphalt and grading to fix correctly and safely. Choosing the right contractor is key here. It’s a lot like the process you'd follow if you needed to find a good roofer in Arizona—you need someone licensed, insured, and with a solid reputation for handling a critical part of your property.
Professional Asphalt Repair Insights
Even if you plan to tackle minor repairs yourself, understanding the professional approach provides valuable context. Professionals use specialized techniques and materials that offer superior durability, especially for significant damage. Key methods include using hot-pour rubberized fillers that create a flexible, waterproof seal capable of withstanding extreme temperature changes. This method is highly effective for larger cracks and ensures a much longer-lasting repair compared to most DIY cold-pour solutions.
How Often Should I Inspect and Repair My Asphalt Driveway?
A good rule of thumb is to give your asphalt a close look twice a year—once in the spring and again in the fall. There's a reason for this timing. The spring check-up lets you catch and fix any damage that winter’s freeze-thaw cycles left behind, before the summer sun has a chance to make small cracks bigger.
Then, the fall inspection is your chance to seal up any new weak spots before winter’s cold and moisture set in. Staying on top of this simple schedule is the best way to prevent tiny problems from turning into giant, expensive headaches.
What Is the Best Time of Year for Asphalt Crack Repair?
Timing is everything when it comes to asphalt repair. You’re looking for that "just right" weather, typically in the spring or fall. Ideally, you want a day where the temperature will stay above 50°F but not climb past 90°F.
This moderate temperature range is the sweet spot. It allows the fillers and sealants to cure properly and create a strong, flexible bond. If you try to do the work in the scorching heat, the material can get runny and fail to set. On the flip side, working in the cold makes the filler brittle and prevents it from adhering to the asphalt, meaning your hard work will fail almost immediately.
Always check the product label for its specific temperature recommendations. Following the manufacturer's guidelines is one of the simplest things you can do to guarantee your repair lasts.
Can I Just Sealcoat Over Cracks in My Driveway?
Absolutely not. This is probably the most common—and most costly—mistake I see homeowners make. A sealcoat is just a thin, protective top layer; think of it as sunscreen for your asphalt. It has zero structural strength.
Slapping sealcoat over an open crack is like putting a bandage on a broken bone. The crack will reappear almost instantly, and it will continue to get worse underneath, trapping water and completely defeating the purpose of the sealcoat.
Here's the right way to do it:
- First, get it clean: You have to get every bit of dirt, debris, and vegetation out of the crack.
- Then, fill it right: Use a quality elastomeric or rubberized crack filler designed for the job.
- Finally, apply the sealcoat: Only after the filler has completely cured should you apply the sealcoat for that uniform, protected finish.
How Much Does Professional Asphalt Crack Repair Cost?
The cost for a pro job can really vary, mostly depending on how bad the damage is and what kind of repair is needed.
For more straightforward work, here’s a ballpark of what you might expect:
- Crack Filling: You're typically looking at $1 to $3 per linear foot. This usually covers cleaning the crack and applying a high-grade sealant.
- Asphalt Patching: For bigger issues like potholes or large sections of alligator cracking, the price jumps to around $3 to $7 per square foot. This is a more involved process where they cut out the bad section and rebuild it.
My advice? Always get at least two or three detailed quotes from reputable local contractors. It’s the only way to get a true sense of the scope of work and ensure you're getting a fair price for a job that will actually last.
Frequently Asked Questions
Can I fill a crack when it's cold outside?
It is not recommended. Most asphalt fillers require an ambient temperature of at least 50°F (10°C) to apply and cure correctly. Applying filler in cold weather prevents it from bonding properly to the asphalt, which can lead to premature failure of the repair. Always check the manufacturer's specific temperature guidelines on the product label.
What happens if I don't clean the crack properly before filling?
If you apply filler to a dirty or damp crack, it will bond to the debris instead of the asphalt walls. This creates a weak patch that will quickly peel away as the debris shifts or moisture gets underneath. Proper cleaning is the most critical step for a durable, long-lasting repair.
Is hot-pour filler dangerous for a DIYer to use?
Yes, hot-pour filler is extremely dangerous for inexperienced users. The material is heated to around 400°F (204°C) and can cause severe burns instantly. It also requires specialized melting kettles and extensive personal protective equipment (PPE). Due to the high risk involved, handling hot-pour fillers is a job best left to trained and equipped professionals.
How long does asphalt crack filler take to dry?
Drying and curing times vary significantly by product. Cold-pour fillers may be traffic-ready in as little as 4-8 hours, while hot-pour applications typically require a full 24 hours to cure completely. Always follow the specific instructions on the product you are using and keep traffic off the repaired area for the recommended duration.

