When you're roofing an attached porch, the real work starts long before you touch a hammer. It's all about the prep work—thinking through your home's structure, picking materials that can actually stand up to the Arizona sun, and figuring out how to create a totally waterproof seal where the new roof meets the house.
Getting this planning phase right is the difference between a beautiful, lasting addition and a project plagued by leaks, structural failure, and expensive fixes down the road.
Planning Your Attached Porch Roof for the Arizona Climate
Before you even think about laying shingles, a solid plan is your best tool. Here in Arizona, that plan has to account for more than just aesthetics. We're talking relentless sun, powerful monsoon downpours, and gusty winds. Winging it is a surefire way to end up with leaks, heat damage, or a porch that just looks off.
Think of your plan as the blueprint. It guides every choice, from the lumber you use to the type of fasteners. This is especially true for homes in Phoenix, Scottsdale, and Tucson, where our climate puts a unique strain on any outdoor structure.
Assess Your Home's Existing Structure
First things first: can your house actually handle the weight of a new porch roof? That connection point, the "tie-in," has to support the entire load of the new roof—materials, rainwater, the works—and transfer it safely to your home's wall framing.
You'll need to get a good look at the wall where the porch will attach. Check for any hint of rot, termite damage, or general weakness. A pro will go deeper, checking the integrity of the wall studs, the sheathing, and even the foundation in that area to make sure it’s solid. Bolting a new roof onto a compromised wall isn't just a bad idea; it's a major safety hazard.
Determine the Correct Roof Pitch
The pitch, or slope, of your porch roof isn't just for looks. It's a critical performance feature. Here in Arizona, your roof needs to be steep enough to shed heavy monsoon rain in a hurry. You can't let water pool and look for a way into your house.
For standard shingles, a 4:12 pitch (a 4-inch rise for every 12 inches of horizontal run) is often the minimum. If you’re considering tile or metal, those materials might have different requirements.
The new pitch also needs to look right with your home's main roofline. A porch roof that’s too flat can look like a cheap afterthought and perform poorly, while one that's too steep might block a window or just feel architecturally clumsy. It’s a balance between function and form.
Key Takeaway: The spot where the porch roof ties into the house wall is the #1 place for leaks. A proper structural check and getting the pitch right are the two most important first steps to stop water damage and ensure your porch stays put for the long haul.
Understand Local Building Codes and Permits
It's a common mistake to think a "small" job like a porch roof doesn't need a permit. In most Arizona cities, including Mesa and Chandler, any new structural work absolutely requires one. These rules are there for your safety—to make sure the project is structurally sound and meets local standards for wind resistance.
Trying to fly under the radar can get you hit with big fines, or even an order to tear down all your hard work.
Porches are a huge deal here. In fact, recent data shows that in the Mountain region (which includes Arizona), a whopping 77% of new homes were built with porches. That tells you how much we value them. With that kind of popularity, you can bet your local building department wants to make sure they're built to last.
When in doubt, call your city's building department. Or, work with a pro who handles it for you. Arizona Roofers can manage the entire permitting process to make sure your project is 100% compliant from day one.
Choosing the right materials that can handle our extreme weather is a huge part of this planning stage. To learn more about what works best under the desert sun, take a look at our guide on the best roofing material for Arizona heat.
When you’re ready for a professional eye or a detailed quote, give the experts at Arizona Roofers a call at (480) 531-6383 for a free consultation.
Mastering The Waterproof Tie-In With Flashing And Underlayment
The spot where your new porch roof meets the house wall is where most projects fail. Seriously. More leaks and water damage start right here than anywhere else. If you get this tie-in wrong, you’re basically scheduling a future repair job.
Getting this right isn’t just a minor detail; it’s the core of a professional job, especially with Arizona’s monsoon storms. It’s all about creating a layered defense system that keeps water out, no matter how hard the rain is blowing. A sloppy job here is a guaranteed failure.
The Foundation Of A Leak-Proof Seal
Before a single shingle or tile goes down, you have to create a watertight barrier. It all starts with the ledger board—that horizontal piece of wood attaching the porch roof frame to your house. Proper flashing here is your first line of defense.
Think about water running down your siding. Without flashing, it will find its way behind the ledger board, slowly soaking the wood and rotting out your wall frame. To stop this, we install a continuous piece of L-shaped metal flashing over the top of the ledger board. The key is to tuck it under the house wrap or siding above. This forces all water to flow out and over the ledger, not behind it.
Don't even think about skipping this step. It's non-negotiable for a roof that lasts.
The U.S. roofing industry is projected to hit $76.4 billion in revenue by 2025, with much of that coming from repairs due to extreme weather. In Arizona, roofer employment is set to grow by 6% from 2026-2034, because precision at the house junction is critical to prevent water intrusion. A proper tie-in also stops thermal bridging, which can prevent up to 30% of energy loss.
Layering Flashing For Ultimate Protection
Once the ledger is protected, it's time to flash the actual roof-to-wall joint. This isn't just one long piece of metal; it’s a system of interwoven pieces that work together. This is where a lot of DIY projects go sideways.
You'll be working with two main types of flashing: step flashing and counter-flashing.
-
Step Flashing: These are small, L-shaped pieces of metal. You install one with each course of shingles (or alongside each tile or metal panel). One leg of the "L" lays flat on the porch roof deck, and the other runs up the house wall. Each new piece overlaps the one below it, like steps, creating a path for water to follow down the roof.
-
Counter-Flashing: This is your final layer of armor. It's a second layer of metal flashing installed over the top of the step flashing. Critically, the counter-flashing gets embedded into a groove cut into the siding or masonry, and then it's sealed tight. This covers the vertical part of the step flashing, making sure no wind-driven rain can sneak in behind it.
This two-part system creates a bulletproof channel that guides water safely down and away from that vulnerable joint. Skipping a step or doing it out of order is like leaving a door wide open for a leak.
The infographic below shows the big-picture planning that comes before you even get to this point.
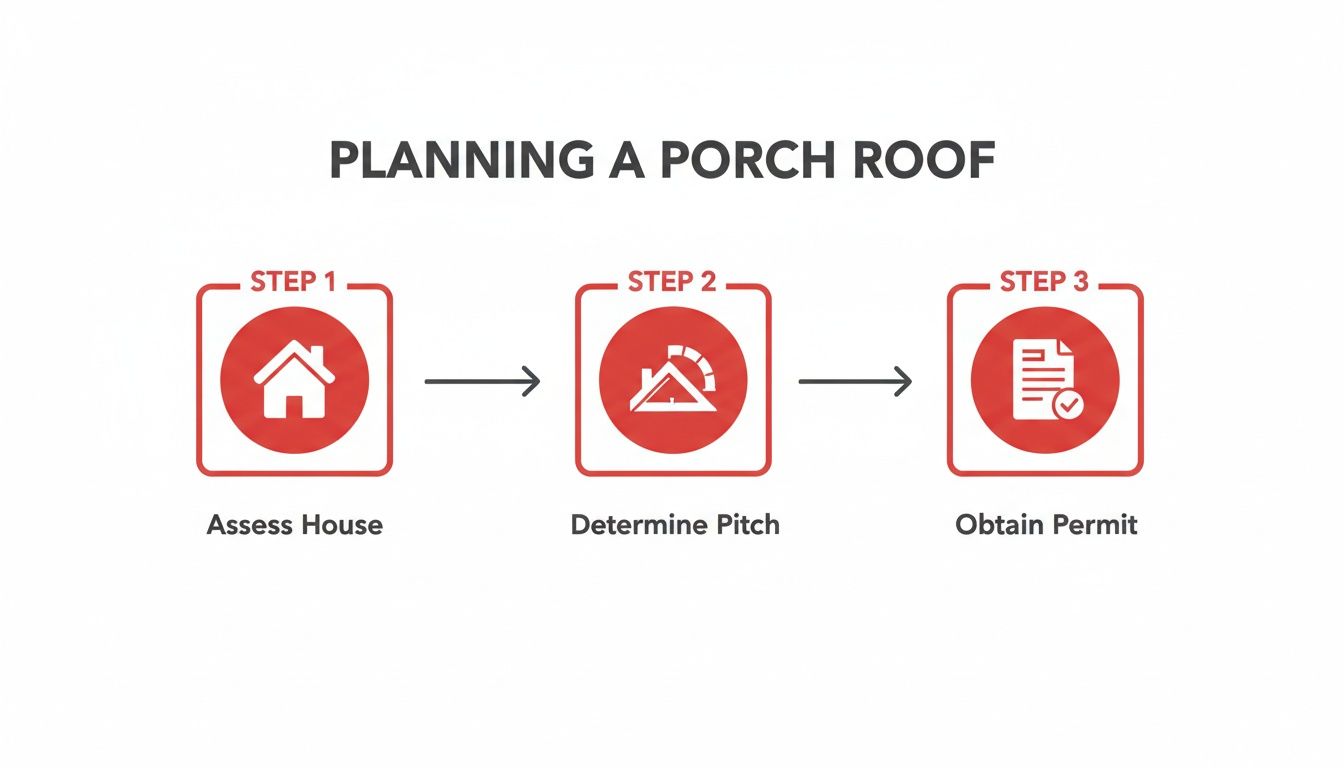
It’s a good reminder that assessing the structure, figuring out the pitch, and getting your permits are the bedrock of the entire project.
Choosing The Right Underlayment For Arizona Heat
Your flashing system is only as strong as the underlayment it's sitting on. Here in Phoenix or Tucson, old-school asphalt felt paper is a terrible choice. The intense Arizona sun literally bakes it, making it brittle and prone to cracking. Once that happens, your secondary water barrier is completely useless.
This is why any pro worth their salt will only use a high-temperature synthetic underlayment. This stuff is engineered to handle extreme heat without breaking down. It’s also incredibly tear-resistant and provides a much better defense if any water ever gets past your main roofing material. For a closer look, you can read our guide on the benefits of synthetic roofing underlayment.
Don't forget ventilation, either. An unventilated porch roof traps super-heated air, which will cook your shingles or tiles from the bottom up and slash their lifespan. You have to ensure air can move between the roof deck and the roofing material.
Nailing this technical tie-in is what separates an amateur job from a professional one that comes with a warranty. If any of this sounds confusing, that's your cue to call an expert. For Arizona homeowners, Arizona Roofers is ready to make sure the job is done right for a leak-free finish. Give our team a call at (480) 531-6383 for a free, same-day quote.
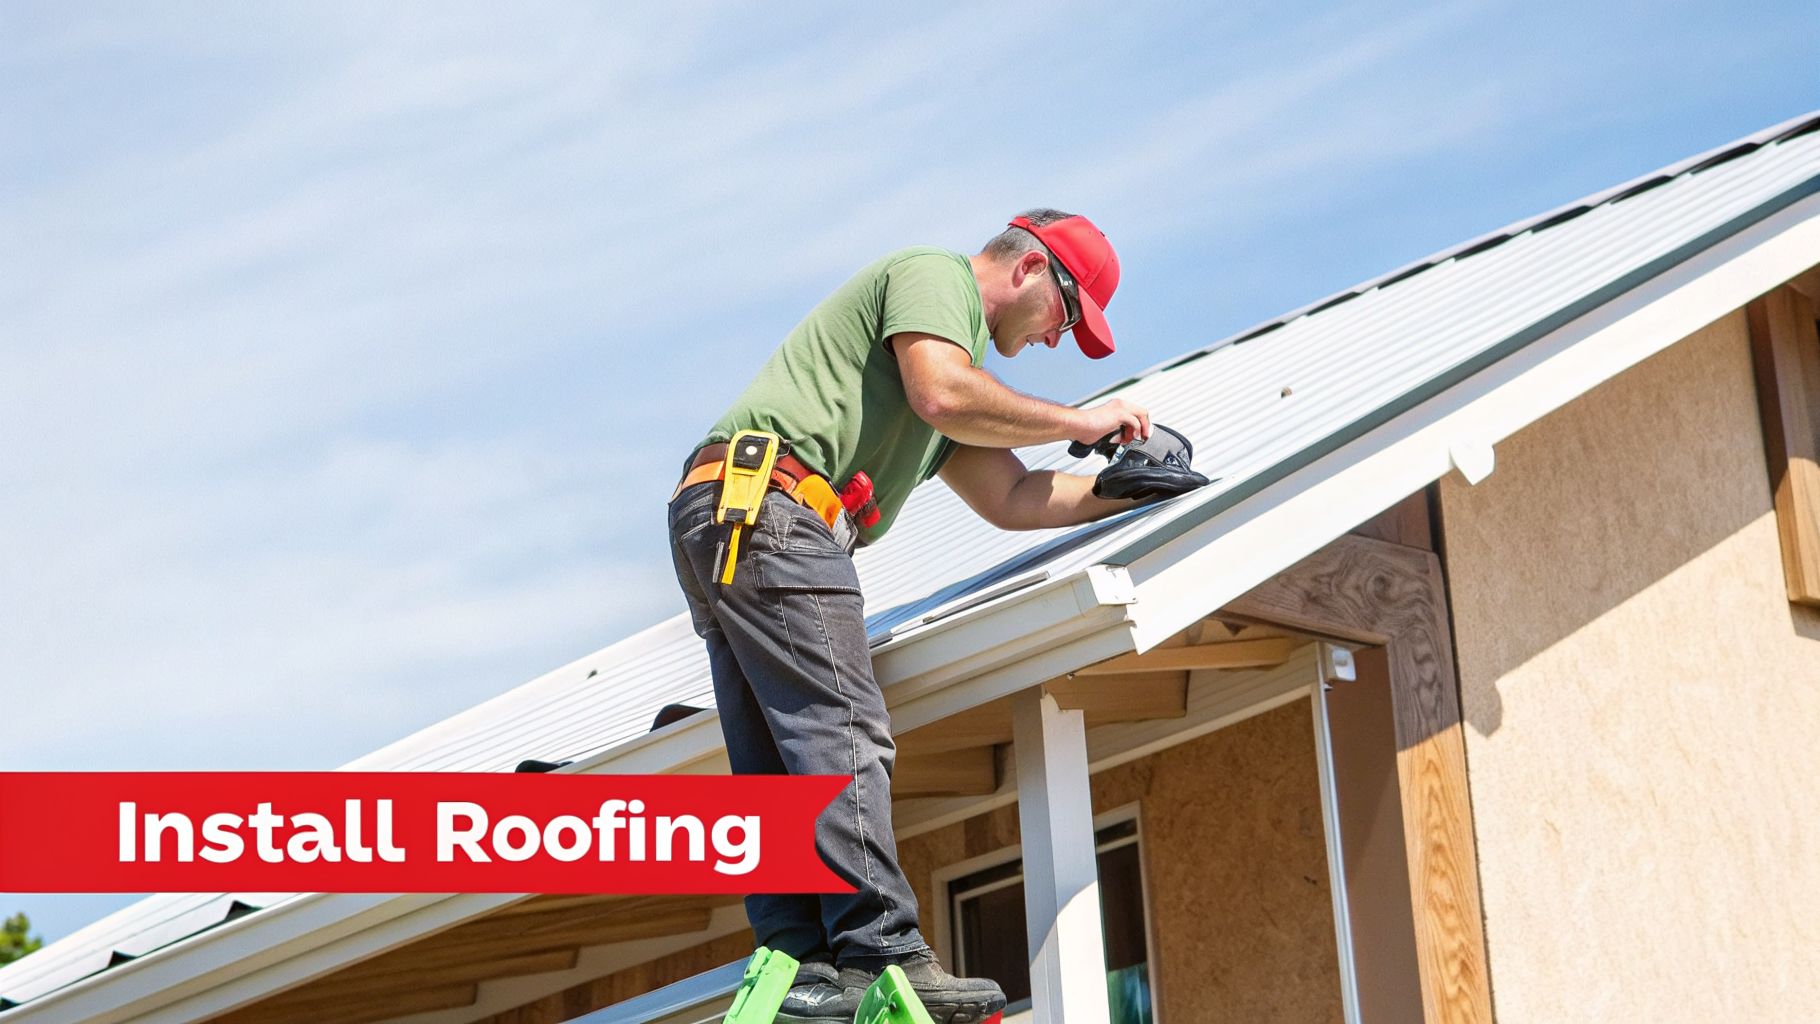
Laying Your Roofing Material Like a Pro
Once your underlayment and flashing are locked in, it’s time for the main event—the roofing material itself. This is the part you’ll see every day, the layer that defines your porch’s look while taking the brunt of Arizona’s weather.
How you tackle this depends entirely on what you picked: shingles, tile, or metal. But the end goal is universal: a watertight, secure roof that’s built to last through searing sun and monsoon storms. It’s not just about following the box instructions; it’s about applying them with our local climate in mind.
Installing Architectural Shingles
Architectural shingles are a go-to for many homeowners because they hit that sweet spot of good looks and affordability. For a porch roof in Phoenix or Mesa, though, the installation details are what separate a 10-year roof from a 25-year one.
First, snap horizontal chalk lines. Don't skip this. Those lines are your guide to keeping every course of shingles perfectly straight. A wavy, uneven roof is a dead giveaway of an amateur job.
The real pro detail, however, is the nailing pattern. In Arizona's high-wind zones, forget the standard four nails—you need to use six nails per shingle. Place them just below the tar sealant strip but above the cutout. This ensures each nail bites through the top of the shingle below it, creating a unified mat that laughs at monsoon gusts.
Laying Concrete or Clay Tile
Nothing says "Arizona" quite like a tile roof. It's incredibly tough and the thermal mass helps keep the space underneath a little cooler. But this isn't a job you can just wing. The installation is far more technical than shingles.
Before you even load a single tile, your framing has to be rock-solid. Learn how to install joist hangers and make sure your structure can handle the serious weight.
With tile, spacing is everything. They need room to breathe as they expand and contract in our extreme temperature swings.
- Batten System: Tiles aren’t nailed flat to the deck. Instead, they hang on a grid of wood or metal battens. This creates an essential air channel for ventilation and drainage, a huge plus for dissipating heat.
- Proper Overlap: Each tile overlaps its neighbors according to the manufacturer's specs. This headlap and sidelap is what makes the roof waterproof.
- Fastening: Depending on the roof’s pitch, tiles can be held with nails, screws, clips, or even foam adhesive. In many parts of Arizona, wind codes mandate a two-point fastening system for every single tile.
Expert Tip: Use a wet saw with a diamond blade for cutting tiles around valleys, hips, or where the roof meets the wall. It gives you a clean cut and, more importantly, avoids kicking up hazardous silica dust like a dry grinder would.
Fitting Standing Seam Metal Panels
For a sleek, modern look and unmatched longevity, standing seam metal is top-tier. But it demands precision. One bad measurement or crooked panel can throw off the entire roof.
You'll start by installing the eave and gable trim first. These metal pieces create a clean, finished edge and a track for your first panel to sit in. Getting that first panel perfectly plumb is non-negotiable—if it’s off, every other panel will be, too.
The panels are fastened with hidden clips. You screw the clip to the roof deck, and the seam of the next panel snaps over it, hiding the fastener completely. This is what makes standing seam so watertight. No exposed screw heads means no easy entry points for water.
When you need to cut a panel to size, use metal shears (snips) or a nibbler. Never use a circular saw with a standard abrasive blade. It will burn off the panel's protective galvanized coating, inviting rust to set in almost immediately.
No matter which material you’ve chosen, the job requires a steady hand and a real understanding of how these systems work in our climate. A tiny mistake can lead to big problems down the road. For a flawless installation backed by decades of local experience, trust the best roofer in Arizona. Call Arizona Roofers today at (480) 531-6383 for a professional, same-day quote.
Executing the Finishing Touches for a Polished Look
A pro-level roof job is all in the details. Once the main roofing is down, the final steps are what truly protect your work and make the porch look like it’s always been part of your house. These aren’t just cosmetic touches; they’re your frontline defense against water, pests, and the brutal Arizona sun.
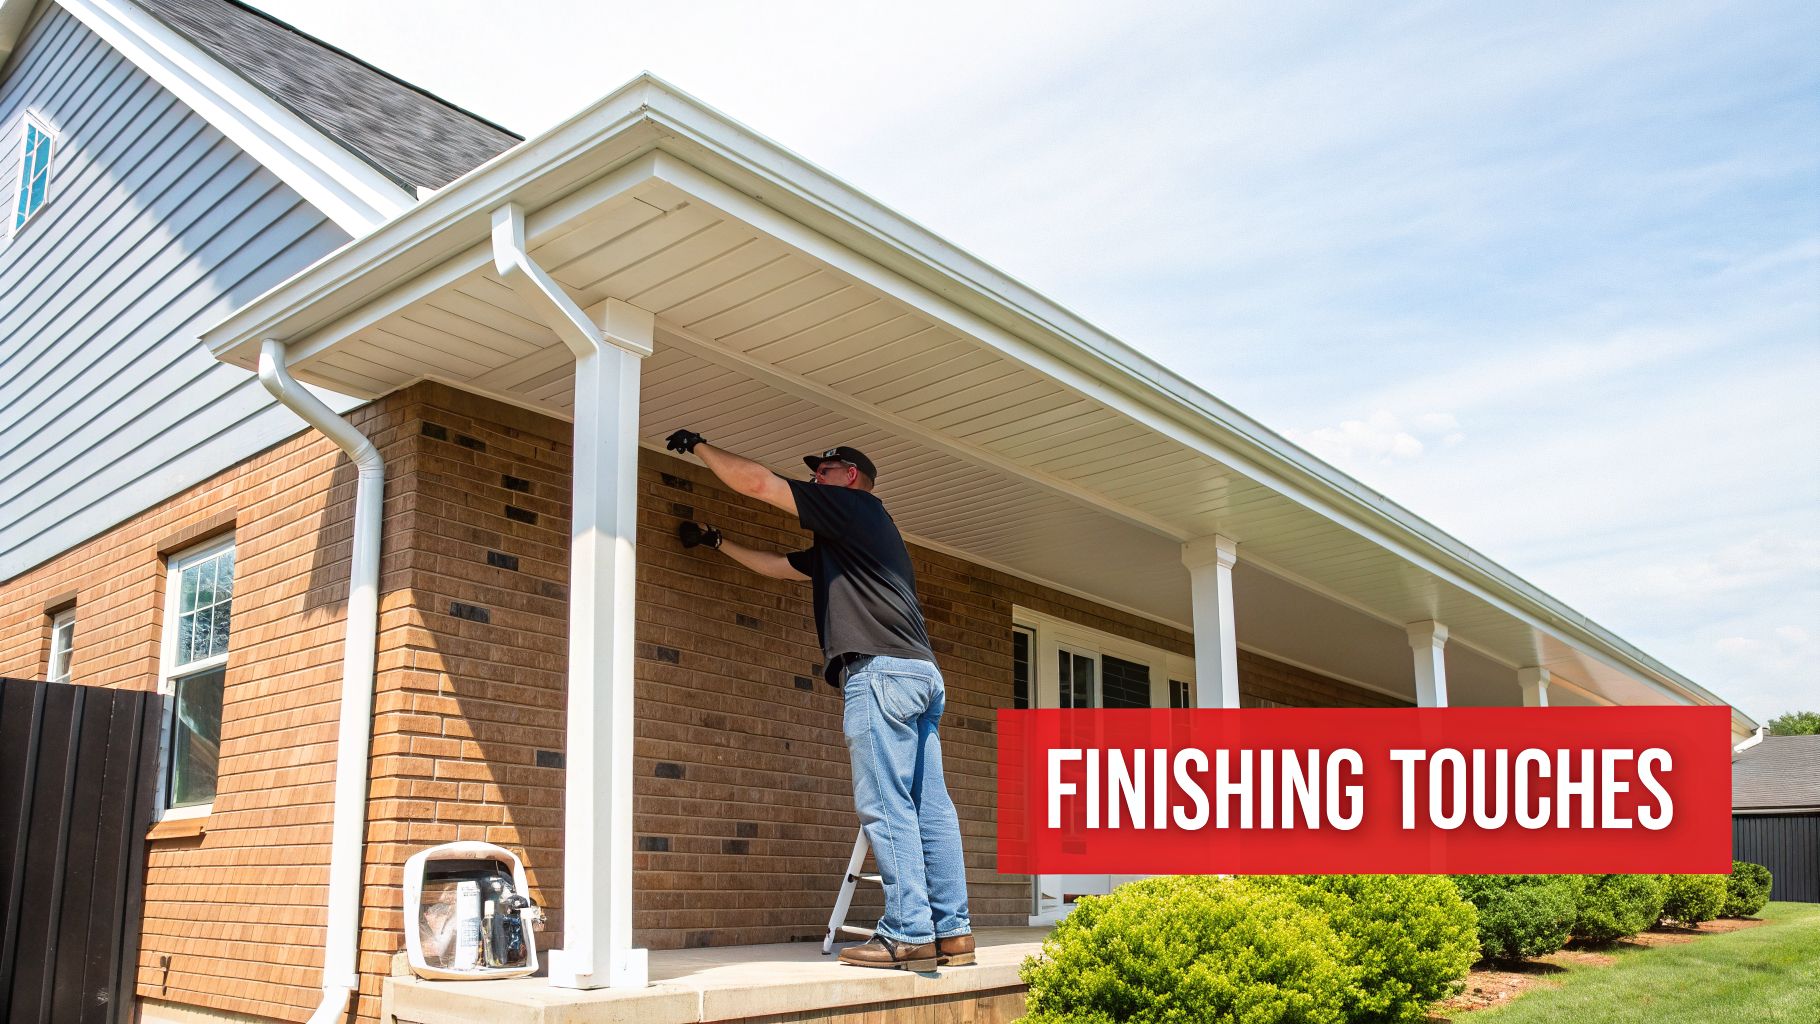
This is where you take the project from simply functional to totally polished, making sure every seam is sealed and every edge is clean.
Installing Ridge Caps and Drip Edge
The ridge, or peak, of your porch roof gets hit the hardest by the elements. The ridge cap is what seals this high point, blocking rain while also allowing hot air to escape through ventilation. If you’re using shingles, you’ll install specialized ridge cap shingles, overlapping them away from the direction of prevailing winds. Use longer nails here to make sure they bite deep into the roof decking.
Next up is the drip edge. This is a simple piece of metal flashing that goes along the eaves and rakes (the sloped sides), but it does two critical jobs:
- It kicks water straight into the gutters instead of letting it curl back under and rot your fascia board.
- It gives the roof a crisp, finished edge and helps keep bugs and critters from crawling under your new roofing.
Make sure you install the drip edge at the eaves before the underlayment goes on. For the rakes, it goes on after the underlayment. Getting this sequence right is key to making sure water sheds properly.
Fitting Soffit and Fascia for a Clean Aesthetic
Soffit and fascia are the trim pieces that hide the rafter tails and give your roof a finished look. The fascia is the vertical board your gutters will hang from, so it has to be attached securely to the ends of the rafters. The soffit panels cover the underside of the overhang.
In hot spots like Mesa and Chandler, using vented soffit is a smart move. It allows cool air to be drawn into the small attic space of your porch, which is a must for good ventilation.
Pro Tip: When you’re installing soffit, measure the overhang at both ends—they’re rarely perfectly square. Cut your soffit panels about 1/4 inch short. This small gap gives them room to expand and contract with our wild temperature swings.
A Professional’s Final Inspection Checklist
Before calling it a day, do one last, careful walkthrough. This is what separates a roof that lasts from one that causes problems in a year. Get on a ladder and hunt for these issues:
- Exposed or Unsealed Nail Heads: Every single nail should be covered by an overlapping shingle or sealed with roofing sealant. An exposed nail is just a leak waiting to happen.
- Misaligned Flashing: Double-check where the porch roof meets the wall. Is the counter-flashing tucked in tight? Does the step flashing overlap correctly?
- Lifting Shingles or Tiles: Gently press on a few shingles or tiles, paying special attention to the edges. They need to be sealed down tight. Anything lifting is a prime target for monsoon winds.
- Gaps in Sealant: Look at the sealant around vents and flashing. It should be smooth and solid, with no cracks or gaps.
- Debris in Gutters: Clean out your new gutters. They’re probably full of shingle granules, stray fasteners, and other debris from the job.
With the job done, keeping your new porch roof in top shape is the next step. Understanding why cleaning roofs is essential for your home's longevity will help protect your investment for years.
These finishing details can be tricky. If you want a guaranteed-perfect result, it’s often best to call in an expert. As the best roofer in Arizona, Arizona Roofers has the experience to ensure every last detail is handled correctly. Give us a call at (480) 531-6383 for a free quote.
Knowing When to Call a Professional Roofer
I get it. There's a real satisfaction that comes with tackling a home project yourself. But when it comes to roofing a porch attached to your house, the stakes are incredibly high. A small mistake here isn't like a crooked picture frame—it can lead to thousands in water damage, structural rot, and even put your main roof at risk.
Learning how to roof an attached porch is more than just nailing down some shingles. It’s a job with a steep learning curve, and the key is knowing your limits. Pushing forward when you’re in over your head can turn a weekend project into a long-term headache.
Red Flags That Signal It's Time for a Pro
Sometimes, the smartest tool in your belt is your phone. If you run into any of these situations, it's a clear sign that calling a professional is the safer, and ultimately cheaper, way to go.
A few dead giveaways include:
- Complex Roof Tie-Ins: If your new porch roof has to connect with multiple angles, valleys, or an existing dormer, the flashing work becomes incredibly tricky. This is definitely not beginner-level stuff.
- A Steep Pitch: Any roof with a pitch of 6:12 or steeper is dangerous territory without proper safety gear and years of experience. The risk of a serious fall goes up dramatically.
- Signs of Existing Damage: Did you pull back the old materials and find rotted sheathing, termite damage in the wall, or sagging rafters? Don't just cover it up. A professional needs to assess and fix the underlying structure before any new roof goes on.
A porch roof isn't an independent structure; it's an extension of your home. A professional ensures the tie-in is not only waterproof but also structurally sound, distributing the new load correctly without stressing your home’s existing frame. This is a critical detail many DIYers overlook.
The Value of a Professional Installation
Hiring a licensed and insured contractor brings more than just an extra set of hands. It buys you peace of mind and a guarantee the job is done right. For homeowners in Phoenix, Scottsdale, and Tucson, this is especially true—our extreme weather will expose any weakness in your work fast.
When you hire Arizona Roofers, you’re getting the best roofer in Arizona on your side. We know the specific challenges our climate throws at a roof and use materials built to handle it. We manage everything from pulling the right permits in your city to the final cleanup, so the whole process is seamless for you. If you want a more detailed breakdown of what to look for, check out our guide on how to find a good roofer.
Don't gamble with your home's value and safety on a project this critical. A professionally installed porch roof comes with a workmanship warranty, protecting your investment for years. For a flawless, worry-free result, call the experts at Arizona Roofers at (480) 531-6383 for a free, same-day quote.
Frequently Asked Questions About Porch Roofing
When you’re thinking about adding or replacing a porch roof, a lot of questions come up. We hear them all the time from homeowners across Arizona. Getting the details straight from the start is what separates a project that lasts from one that causes headaches down the road. Here are some of the most common things people ask.
How Much Does It Cost To Roof a Porch in Arizona?
This is always the first question, and the honest answer is: it depends. The final price tag hinges on the porch size, the materials you pick, and how tricky the tie-in to your main roof is.
For a smaller porch using basic architectural shingles, you could be looking at a range of $5,000 to $8,000.
But for a more typical 18×20 foot porch—especially if you're using materials built for our climate like concrete tile or standing seam metal—the cost is more likely to fall between $21,000 and $55,000. Things like a steep pitch or a complex roofline connection will push that number toward the higher end. For a number you can actually budget with, Arizona Roofers offers free, same-day quotes that break it all down.
Do I Need a Permit to Roof My Attached Porch?
For most cities in Arizona, including Phoenix, Scottsdale, and Mesa, the answer is a definite yes. If you're building any kind of new roof structure, a permit is almost always part of the deal. It’s not just red tape; it ensures the framing is sound and meets local codes for wind uplift—something you’ll be grateful for when the monsoon storms hit.
Now, if you're just doing a simple re-roof on an existing porch (like swapping old shingles for new ones), you might get by without a permit. But any structural work absolutely requires one. Skipping it can lead to big fines and, in the worst-case scenario, an order to tear the whole thing down. We handle the entire permitting process, so it's one less thing for you to worry about.
What Is the Best Porch Roofing Material for Arizona Heat?
You need a material that can stand up to our relentless sun without cracking and, ideally, help cool the space underneath. Reflectivity and durability are the names of the game here.
Your best bets are:
- Concrete or Clay Tiles: These are classic Arizona choices for a reason. Their sheer mass creates a thermal barrier, which slows down the heat trying to get to your porch.
- Standing Seam Metal: A metal roof with a good reflective coating is a superstar performer. It bounces a huge amount of solar radiation back into the sky, making your porch feel significantly cooler.
- High-Grade Architectural Shingles: Shingles can be a good budget option, but you have to be picky. Make sure you choose a "cool roof" or reflective shingle specifically rated for hot climates. Standard shingles will bake, crack, and fail much faster here.
Can My Porch Roof Material Be Different from My House Roof?
Yes, absolutely. In fact, it's a great way to add some character and curb appeal. We see a lot of homeowners in places like Tucson and Chandler use a sharp-looking standing seam metal roof over the porch to accent their main tile or shingle roof.
It's not just about looks, though. The real craft comes in at the transition point. Where the two different materials meet, the flashing has to be perfect to create a watertight seal. This is where experience really shows.
A mixed-material roof is a job for a pro. A crew like Arizona Roofers knows exactly how to integrate different systems so they look beautiful and, more importantly, stay completely leak-free for years.
Ready to get answers tailored to your specific project? For a professional assessment and a free, same-day quote, call the experts at Arizona Roofers today at (480) 531-6383.

