A damaged roof is a homeowner's nightmare, often signaling expensive and complicated fixes. But what if you could handle some of the most common issues yourself? Learning how to repair roofs for minor problems like a loose shingle or a small leak around a vent can save you significant money and prevent small issues from turning into major structural damage. While larger problems always require a professional, understanding the basics of roof repair empowers you to protect your biggest investment.
This guide provides a clear roadmap for the handy homeowner. We'll cover everything from identifying common roof problems and gathering the right safety gear to step-by-step instructions for simple repairs. You'll learn how to find the true source of a leak, replace a damaged shingle, and know the critical red flags that mean it's time to call in a professional.
Key Takeaways
- Safety First, Always: Never attempt a roof repair without the proper safety gear, including high-grip footwear, a safety harness for sloped roofs, gloves, and safety glasses. Always work in calm, dry weather and have a spotter on the ground.
- Leak Detection is Key: The source of a leak is rarely directly above the water stain. Use a flashlight in your attic to look for water stains or pinpricks of light on the underside of the roof deck to find the real entry point.
- Know Your Limits: Simple repairs like replacing a single damaged shingle or sealing a minor flashing gap are manageable DIY projects. However, widespread damage, a sagging roof deck, or complex flashing work require a professional's expertise.
- Climate Matters: In desert climates like Arizona, specialized materials like clay tiles and foam roofing are common. Repair techniques for these materials differ significantly from standard asphalt shingles.
- Prevention is the Best Repair: Conduct visual roof inspections twice a year and after any major storm. Catching issues like cracked tiles or granule loss in your gutters early can prevent costly, large-scale repairs down the line.
Your First Look at DIY Roof Repair
Fixing your own roof can seem intimidating, but many of the most common issues are surprisingly manageable. A few damaged shingles or a small leak around a pipe flashing often don't require calling in a whole crew. The real key to success is starting with a good base of knowledge.
That's what this guide is all about. We’ll walk through the essentials: working safely up on the roof, hunting down the true source of a leak (which is often trickier than it sounds), and picking the right materials to make sure your patch job actually lasts. Think of this as your starting point to figure out if you've got a weekend project on your hands or if it's time to call in the pros from AZ Roof Co.
Setting Realistic Expectations
Before you even think about pulling out the ladder, you need to be honest with yourself about the scope of the repair. A couple of shingles blown off in a monsoon is one thing. Discovering widespread water damage and rot in your attic is a completely different ballgame. Being able to tell the difference is probably the most critical skill for any DIY roofer.
From the ground, you can often spot the early warning signs. Keep an eye out for:
- Obvious Damage: Look for any shingles that are cracked, curled up at the edges, or completely missing.
- Granule Loss: If your gutters are full of what looks like coarse black sand, those are the protective granules from your shingles. A heavy loss means your roof is getting old and brittle.
- Trouble Inside: Any water stains on your ceilings or walls are a dead giveaway. That leak needs to be tracked down, and fast.
Your DIY Mantra
Keep these four things in mind: Safety is everything. Finding the real source of the leak is half the work. Using the right materials is the only way to avoid doing this again in six months. And knowing when to call for help is the smartest move you can make.
Common Roof Problems at a Glance
To give you a better idea of what you might be facing, I've put together a quick cheat sheet. Most DIY repairs fall into just a few categories, but the difficulty and time they take can vary a lot. This table will help you quickly identify your issue and understand the commitment involved.
| Problem | Common Cause | DIY Difficulty | Estimated DIY Time |
|---|---|---|---|
| Leaky Roof Vent | Cracked rubber boot, loose nails, improper seal | Easy | 1-2 hours |
| Damaged Shingles | High winds, hail, sun damage, foot traffic | Easy to Moderate | 1-3 hours |
| Leaky Flashing | Rusted metal, cracked sealant, improper installation | Moderate | 2-4 hours |
| Gutter Issues | Clogs, sagging, poor drainage | Easy | 2-3 hours |
| Damaged Clay or Concrete Tiles | Hail, foot traffic, freeze-thaw cycles | Moderate | 2-4 hours |
Knowing what to expect is a huge advantage. For instance, swapping out a single asphalt shingle is a pretty quick job. But properly repairing the flashing around a chimney? That’s a much more delicate operation that requires real precision to create a lasting, watertight seal. A clear-eyed assessment from the start will keep you from getting in over your head.
Gearing Up for a Safe Roof Repair
Before you even think about setting up a ladder, we need to have a serious talk about safety. I've been in this business a long time, and I can tell you that almost every accident I've heard about could have been avoided. Someone was in a hurry, or they didn't have the right gear. Trust me, no leak or cracked tile is worth a trip to the emergency room.
Think of this as your pre-flight checklist. Getting ready isn't just about grabbing a hammer; it's about creating a secure work zone for yourself. It means checking your equipment, knowing the risks, and respecting the height you're working at. A little time spent on preparation can prevent a serious fall, which is tragically the #1 cause of death in the construction industry.
Your Personal Protective Equipment Checklist
Let's get one thing straight: Personal Protective Equipment (PPE) isn't just a suggestion—it's your first line of defense up there. Don't even think about starting without these essentials.
Here’s what you absolutely need:
- High-Grip Footwear: Leave the sneakers in the closet. You need boots with soft, rubber soles that grip like glue. Good footing is non-negotiable on a roof, and you can learn a lot from an ultimate guide to choosing work boots.
- A Safety Harness: If your roof has any kind of noticeable slope, a harness is a must-have. It's the one piece of gear that can literally save your life if your footing gives way.
- Sturdy Work Gloves: Your hands will thank you. Shingles are like coarse sandpaper, and you’ll be dealing with sharp metal and old nails.
- Safety Glasses: Dust, granules from shingles, and flecks of old sealant have a way of finding your eyes. A simple pair of safety glasses prevents a world of hurt.
Building Your DIY Roofer Toolkit
Having all your tools within arm's reach makes the job go smoother and keeps you safer. The last thing you want is to be scrambling back and forth to the garage while you're perched on a roof. Get everything together first.
Your basic kit should include:
- A Quality Extension Ladder: Make sure it’s sturdy and extends at least three feet above the roof's edge. This gives you something to hold onto when getting on and off the roof.
- Pry Bar or Cat's Paw: You’ll need this to gently lift existing shingles and pop out old nails without causing more damage.
- Utility Knife and Hammer: The bread and butter of any shingle job, used for cutting materials to size and nailing them down securely.
- Caulking Gun and Roofing Sealant: This is what creates your watertight seal around flashing, vents, and any exposed nail heads.
- Chalk Line: Want your repair to look like a pro did it? A chalk line is the secret to keeping your new rows of shingles perfectly straight.
A well-maintained toolkit is a safe toolkit. Get in the habit of giving your gear a quick once-over before you start. Check your ladder for loose rungs and your power tools for frayed cords. This simple step is a key part of any solid roof maintenance checklist.
Assessing Your Work Environment
Finally, take a look around. Your surroundings are just as critical as your equipment. I never send my crews out in bad weather, and neither should you.
Postpone the job if you see any of these conditions:
- Rain or Moisture: Even a little morning dew can make a roof dangerously slick. It's just not worth the risk.
- High Winds: A strong gust can catch you off guard and send you, your tools, or your ladder flying.
- Extreme Heat: Here in Arizona, this is a big one. A blistering hot roof can make shingles soft and easy to damage, not to mention the very real danger of heatstroke.
And please, always have a spotter on the ground. They can hold the ladder steady, hand you tools, and be there to call for help instantly if anything goes wrong. It’s one of the simplest and smartest things you can do.
How to Find and Fix Common Roof Leaks
That dreaded water stain on the ceiling. It’s a gut-wrenching sight for any homeowner, signaling that your roof's primary defense has been compromised. The first instinct is to look directly up, but the actual entry point is rarely that obvious. Water is sneaky; it can travel down rafters and across decking before it ever decides to drip, making the source a real mystery.
Your best bet for playing detective is to grab a powerful flashlight and head for the attic. On a bright, dry day, kill the lights and scan the underside of the roof deck. You're looking for little pinpricks of daylight—those are your smoking guns. If you don't spot any, your next move is to check again during the next rainstorm. Look for active drips or fresh, dark stains on the wood, which will lead you right to the problem area.
This whole process involves getting up on your roof, which means safety has to be your top priority.
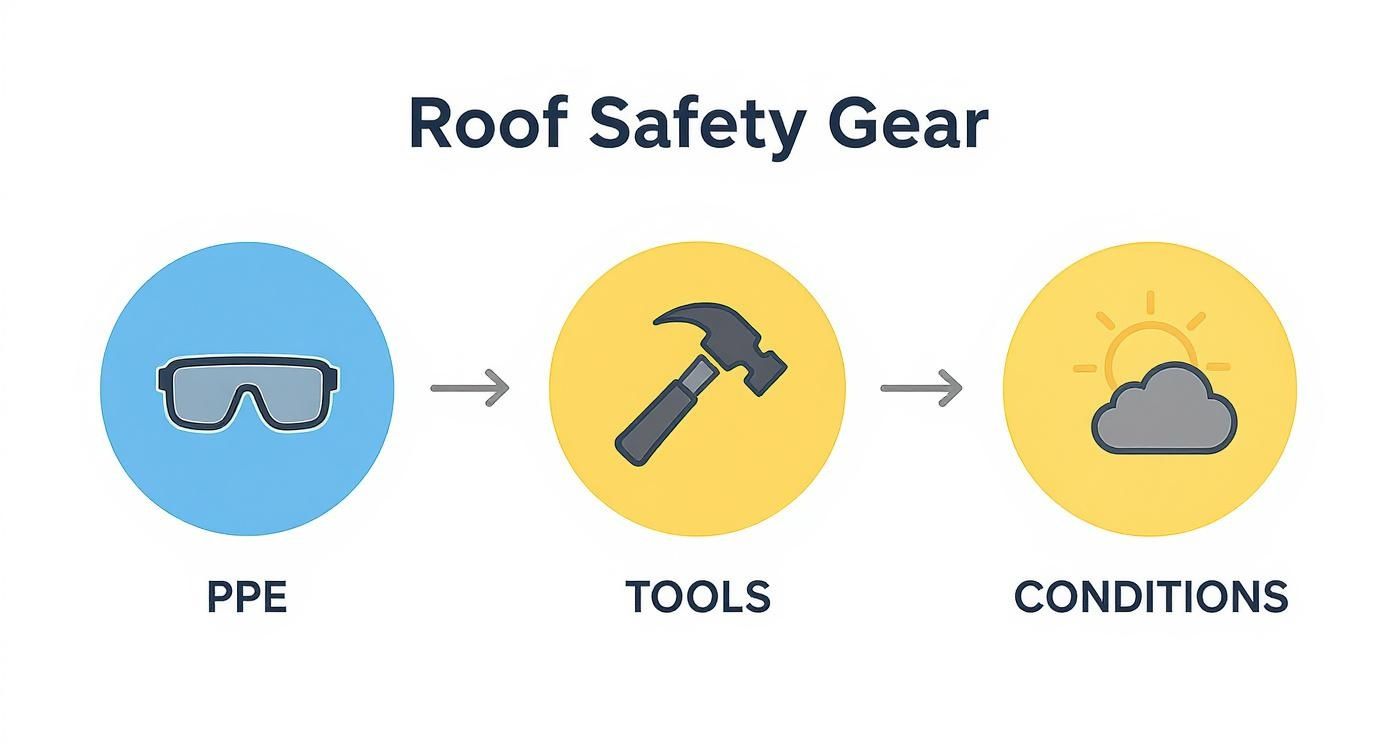
As you can see, being safe isn't just about what you're wearing; it’s about using the right tools and knowing when the weather is safe enough to work.
Pinpointing the Usual Suspects
Once your attic inspection gives you a general location, it’s time to safely get on the roof and hunt down the exact cause. From my experience, most leaks boil down to just a handful of common culprits.
Here’s where you should focus your attention:
- Cracked or Missing Shingles: The Arizona sun is brutal. Combined with wind and the occasional hailstorm, it can make asphalt shingles crack, curl, or even get blown off completely, leaving the underlayment exposed.
- Failing Flashing: Flashing is the metal work that seals the joints around chimneys, vents, and skylights. Over time, the sealant can dry out and crack, or the metal itself can rust or pull away from the roof.
- Worn Seals on Vents: Every pipe and vent coming through your roof has a flexible rubber boot or collar. UV radiation absolutely destroys this material, making it brittle and creating a perfect entry point for water.
Replacing a Damaged Asphalt Shingle
If you've found a lone damaged shingle, you're in luck. This is one of the most manageable DIY roof repairs out there. The real trick is getting the old shingle out without causing a domino effect of damage to the ones around it.
First, you'll need to gently lift the edges of the shingle above the damaged one to get to the nails. Take a flat pry bar and carefully work out the four nails holding the bad shingle down. With the nails gone, it should slide right out.
Next, slide the new shingle into position. Make sure its top edge is aligned with the shingles on either side. Fasten it with four 1 ¼-inch roofing nails, placing them just under the sealant strip of the shingle above it. To finish the job, put a small dab of roofing cement over each nail head. That's your waterproof seal.
Pro Tip
On a hot Arizona day, shingles get soft and gummy. Be extra careful, because they can tear or scuff easily. I always recommend doing this kind of work in the cooler morning hours before the sun really starts beating down.
Tackling Minor Flashing Leaks
Traced the leak to the flashing around a chimney or vent? If it's just a small gap, you can often seal it without having to replace the whole thing. Start by giving the area a good cleaning with a wire brush to get rid of any old, crusty sealant and debris.
Then, using a caulking gun, apply a solid bead of a high-quality roofing cement right into the gap. Smooth it out with a putty knife, pressing it firmly into the seam to create a tight, lasting bond. This simple fix can buy your flashing several more years of life.
But if you see that the flashing is badly rusted, bent, or has pulled completely loose, a tube of sealant isn't going to save it. That's a sign of a much bigger problem that needs a professional to replace the flashing properly. For a deeper look, check out our essential guide to roof leak repair.
Part of knowing how to repair a roof is knowing when the job is over your head. The roofing industry is a massive part of home maintenance, with nearly 98,980 roofing businesses in the US alone. That number shows just how often homeowners need everything from a quick fix to a full replacement.
Interestingly, the skills you use for roof repair can come in handy elsewhere. For instance, the methodical approach in this DIY guide on how to repair pool leaks is surprisingly similar. Whether you're tracking down a leak in a shingle or a pool liner, the core principles of diagnosis and repair are the same.
Handling Roof Repairs in a Desert Climate
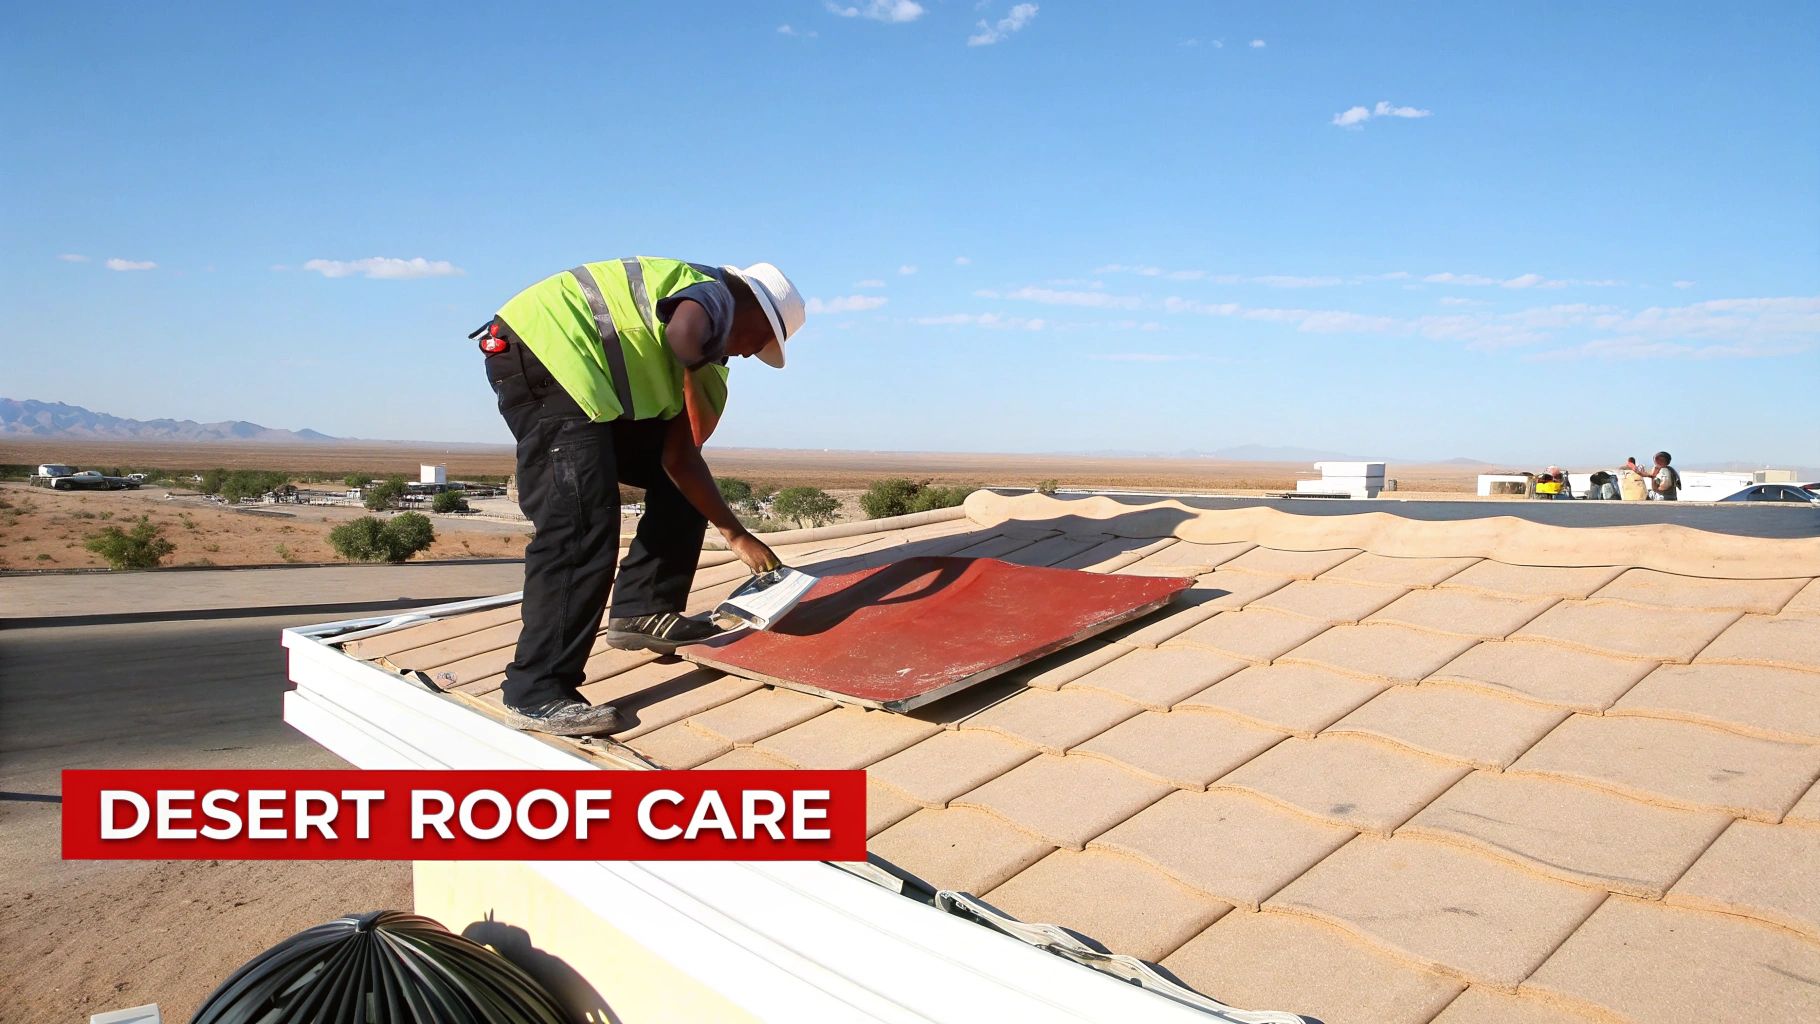
Most of the roof repair advice you'll find online just doesn't cut it here in Arizona. Our roofs are in a constant battle with a level of sun and heat that folks in other places can't even imagine. Add in the drastic temperature swings and the sudden violence of a monsoon storm, and you have a recipe for disaster if you use the wrong materials or methods.
What works in a milder climate can fail, and fail fast, under the Sonoran sun. That’s why we rely on specialized systems like clay tiles and spray polyurethane foam (SPF). Each has its own repair playbook, and knowing the right moves is critical. This isn't just about patching a leak; it's about making sure your home is truly monsoon-proof.
Repairing Cracked or Slipped Clay Tiles
Clay tiles look tough, and they are, but they aren't invincible. A heavy branch from a palm tree, a misplaced step, or a burst of hail can crack a tile, opening a direct line for water to attack the underlayment. Fixing it isn't hard, but it demands a delicate touch.
You can't just yank a broken tile out—that's a good way to crack the ones around it. The whole process is about precision.
- Get Some Leverage: Carefully slide two flat pry bars under the tiles sitting just above the damaged one. You just want to lift them ever so slightly to give yourself room to work.
- Break It Down: Use a hammer and chisel to gently break the damaged tile into smaller, manageable pieces. This lets you remove them cleanly without disturbing the neighboring tiles.
- Slide in the New Tile: Guide the replacement tile into the empty space. Nudge it up until its top edge is perfectly aligned with the others for a snug fit.
- Seal the Deal: Apply a bead of high-quality roofing adhesive under the top edge of the new tile to hold it fast. Try to avoid using nails if you can help it; every nail hole is a potential new leak.
Remember, the underlayment is the real waterproof shield for your roof. A single broken tile left ignored exposes that critical layer to UV rays, making it brittle and weak. What starts as a simple tile swap can quickly escalate into a much bigger, more expensive repair project.
Addressing Blisters on a Foam Roof
Spray foam roofing is a fantastic insulator for our climate, but over time, you might spot small blisters or bubbles on the surface. These are usually caused by a bit of trapped moisture or a tiny puncture in the protective coating. Catching them early is the key.
Fixing a blister is pretty straightforward. First, take a utility knife and cut an 'X' across the bubble, then peel back the four flaps. You need to make absolutely sure the area inside is bone-dry—a heat gun on a low setting can help with that.
Once it's dry, fill the void with a compatible polyurethane caulk and press the flaps back down into it. To finish, apply two fresh coats of the matching elastomeric roof coating over the repair, making sure to extend it a few inches past your cuts. This restores that seamless, waterproof surface.
This kind of simple, proactive maintenance is what makes foam roofs so durable. If you’re curious about the long-term advantages, you can learn more about our spray polyurethane roof systems.
The Power of Reflective Roof Coatings
One of the best things you can do for any roof in Arizona—whether it's tile, foam, or a flat roof—is to apply a reflective elastomeric coating. This is way more than just a coat of paint. It's a thick, flexible membrane that delivers two huge benefits.
First, its white or light color bounces a massive amount of the sun's UV rays away from your home, which can drop the temperature on your roof's surface by as much as 50-60 degrees. That means your AC doesn't have to work as hard, saving you real money.
Second, the coating fills in tiny cracks and creates a seamless waterproof barrier, shielding your roof from UV damage and moisture. It’s an investment that pays you back by extending the life of your roof and lowering your energy bills. It's no wonder that the global roofing market, valued around USD 132.5 billion, is seeing a major push toward these energy-efficient solutions.
When to Put Down the Tools and Call a Pro
The most important skill for any DIYer—especially when you’re working on something as critical as your roof—is knowing your limits. Nailing a shingle replacement or sealing a leaky vent can feel fantastic. I get it. But pushing past your comfort zone on a complex job can be dangerous and end up costing you a lot more in the long run. A huge part of knowing how to fix a roof is knowing when not to.
This is all about spotting the clear warning signs that a problem is much bigger than a simple patch. We’re talking about issues where a small mistake can have serious consequences. A botched repair can easily turn a minor drip into a major structural nightmare, void your roof’s warranty, or create a serious safety hazard.
Red Flags That Scream "Stop!"
Some roofing problems just aren't worth the risk for a homeowner. These aren't just bigger jobs; they're complex situations that demand specialized training, proper equipment, and a real understanding of how the entire roofing system works together. If you see any of the following, it's time to get a professional like AZ Roof Co on the phone.
Here’s what to look for:
- Widespread Water Damage: You crawl into the attic and see large patches of damp, dark, or soft wood on the underside of the roof deck. That isn't just a simple leak anymore; you're looking at potential structural rot that needs an expert eye.
- A Sagging Roof Deck: Stand across the street and take a hard look at your roofline. Is it perfectly straight? Or do you see a noticeable dip, like a saddle, in the middle? A sagging roof is a massive structural red flag. It means the rafters or decking are failing, and that's an emergency.
- Multiple Leaks Popping Up: Finding and fixing one leak is one thing. But discovering three or four different wet spots after a storm points to a systemic failure. The roofing material or underlayment is likely compromised across the board, and chasing individual drips won't solve the real problem.
Any time a repair involves the roof's underlying structure, it's a job for a licensed contractor. Professionals have the experience to safely assess and fix compromised decking or framing, ensuring your home is structurally sound.
Jobs That Require a Specialist's Touch
Beyond the obvious structural dangers, some repairs are just plain tricky. They often involve the most critical transition points on your roof, where the margin for error is basically zero.
A pro is essential for tasks like these:
- Replacing Valley Flashing: The "valleys" where two roof planes meet are designed to channel a massive amount of water. Getting that flashing installed perfectly is a true skill, and doing it wrong guarantees a major leak.
- Working on Steep Pitches: Any roof with a steep slope dramatically increases the risk of a fall. Professionals come equipped with specialized safety harnesses and know the techniques to navigate these surfaces without getting hurt.
- Major Tile or Foam Repairs: Sure, replacing a single cracked tile might be within reach. But if you're dealing with widespread damage or large sections of a failing foam roof, you need someone with the right tools and material knowledge to get it done correctly.
Navigating Permits and Insurance
The work isn’t over once the repair is done. Bigger roofing jobs often bring in two other headaches: building permits and insurance claims. This is where a seasoned professional proves their worth. They know the local building codes inside and out and will make sure all the work is properly permitted and inspected. That keeps you compliant and protects your home’s future resale value.
If you're dealing with storm damage, a good contractor will document everything correctly and can work directly with your insurance adjuster. Having that expert advocacy in your corner helps ensure your claim gets approved for the full amount needed to do the job right and up to code.
And keep in mind, the roofing industry is always changing. For instance, green roofing systems are gaining traction for their environmental perks. Demand for these "vegetative" roofs is expected to grow 7.7% annually in the U.S. These systems require a whole different approach to repairs and maintenance. You can discover more insights about these roofing industry statistics and see for yourself how the complexity of the trade continues to evolve.
Your Top Roof Repair Questions Answered
How often should I inspect my roof for damage?
You should visually inspect your roof at least twice a year—once in the spring and once in the fall. It is also critical to perform an inspection from the ground after any major weather event, such as a severe windstorm or hailstorm. Look for obvious signs like missing shingles, cracked tiles, or a large amount of shingle granules in your gutters.
Can I repair my roof in any weather?
Absolutely not. For your safety and the quality of the repair, you should never work on a roof when it is wet, icy, or during high winds. In hot climates, avoid working in extreme midday heat, as it can soften asphalt shingles and make them susceptible to damage. Always choose a calm, dry, and mild day for any roof repairs.
What is a fair price for a minor professional repair?
While costs vary by location and the complexity of the job, a minor professional repair like replacing a few damaged shingles or resealing a vent flashing typically costs between $300 and $700. This price usually includes labor, materials, and a service call fee. Always get at least two or three quotes from licensed and reputable contractors like AZ Roof Co to ensure you are getting a fair price.
How can I find a roof leak?
Finding a leak requires some detective work. The best place to start is in your attic with a flashlight. Look for water stains, dark spots, or mold on the underside of the roof decking. On a sunny day, you might even see pinpricks of light shining through. Note the location, then safely access the roof to inspect that area for damaged shingles, failing flashing, or worn-out vent seals.
Is it cheaper to repair or replace a roof?
Repairing is almost always cheaper in the short term for isolated issues. However, if your roof is nearing the end of its lifespan (typically 20-25 years for asphalt shingles), has widespread damage, or is experiencing multiple leaks, a full replacement is often more cost-effective. Constantly paying for repairs on an old, failing roof can quickly add up to more than the cost of a replacement.

