Discovering a leak in your roof can be a stressful experience for any homeowner. A water stain on the ceiling is more than just a cosmetic issue; it's a clear sign that the primary shield protecting your home has been breached. Immediate action is crucial to prevent minor damage from escalating into a major catastrophe involving structural rot, mold, and ruined property. This guide will walk you through the essential steps, from emergency damage control to performing a durable repair, ensuring you can tackle the problem with confidence.
Key Takeaways
- Act Fast: Your immediate priority is to control interior damage with buckets and protect your belongings. A temporary tarp patch is a crucial stop-gap measure.
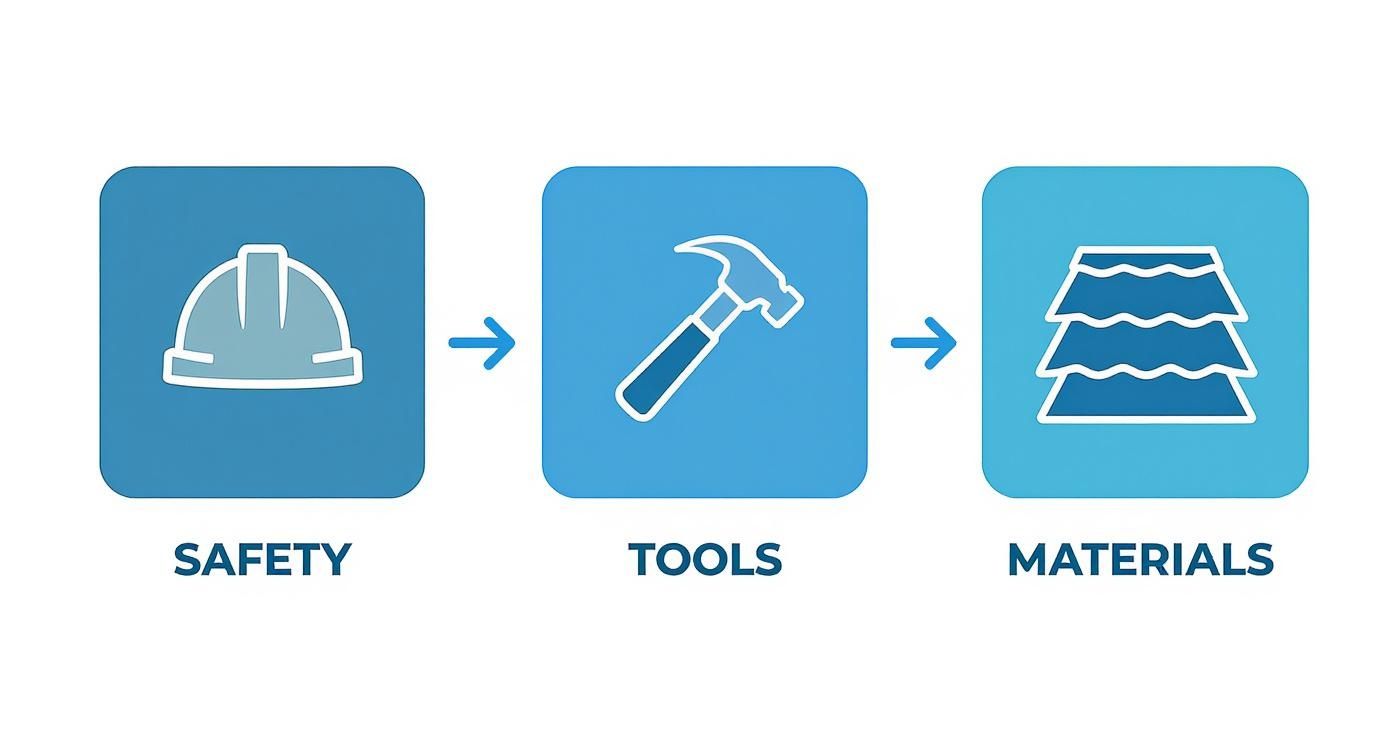
- Safety First: Never work on a wet roof. Always use a properly secured ladder, a fall protection harness, and have a spotter on the ground.
- Materials Matter: The repair method depends entirely on your roofing material—asphalt shingle, metal, or tile roofs each require a different approach and specific materials.
- Know Your Limits: While small repairs can be a DIY project, widespread damage, rotted decking, or very steep roofs are clear signs to call a professional.
Your Immediate Action Plan for a Leaking Roof
Seeing a drip from the ceiling means you have to act fast. A quick, smart response can mean the difference between a small patch job and a massive headache involving mold, rot, and ruined belongings. This isn't about the final repair just yet—this is triage.
When a leak strikes, a clear plan prevents panic and minimizes damage. The following table breaks down the essential first steps.
Emergency Roof Hole Action Plan
| Priority | Action Step | Key Objective |
|---|---|---|
| 1: Inside Damage Control | Place buckets under drips. Move furniture and valuables. Puncture ceiling bulges carefully. | Prevent further interior water damage and protect personal property. |
| 2: Attic Inspection | Use a flashlight to trace water stains on decking and rafters back to the entry point. | Pinpoint the leak's true source, which is often far from the interior drip. |
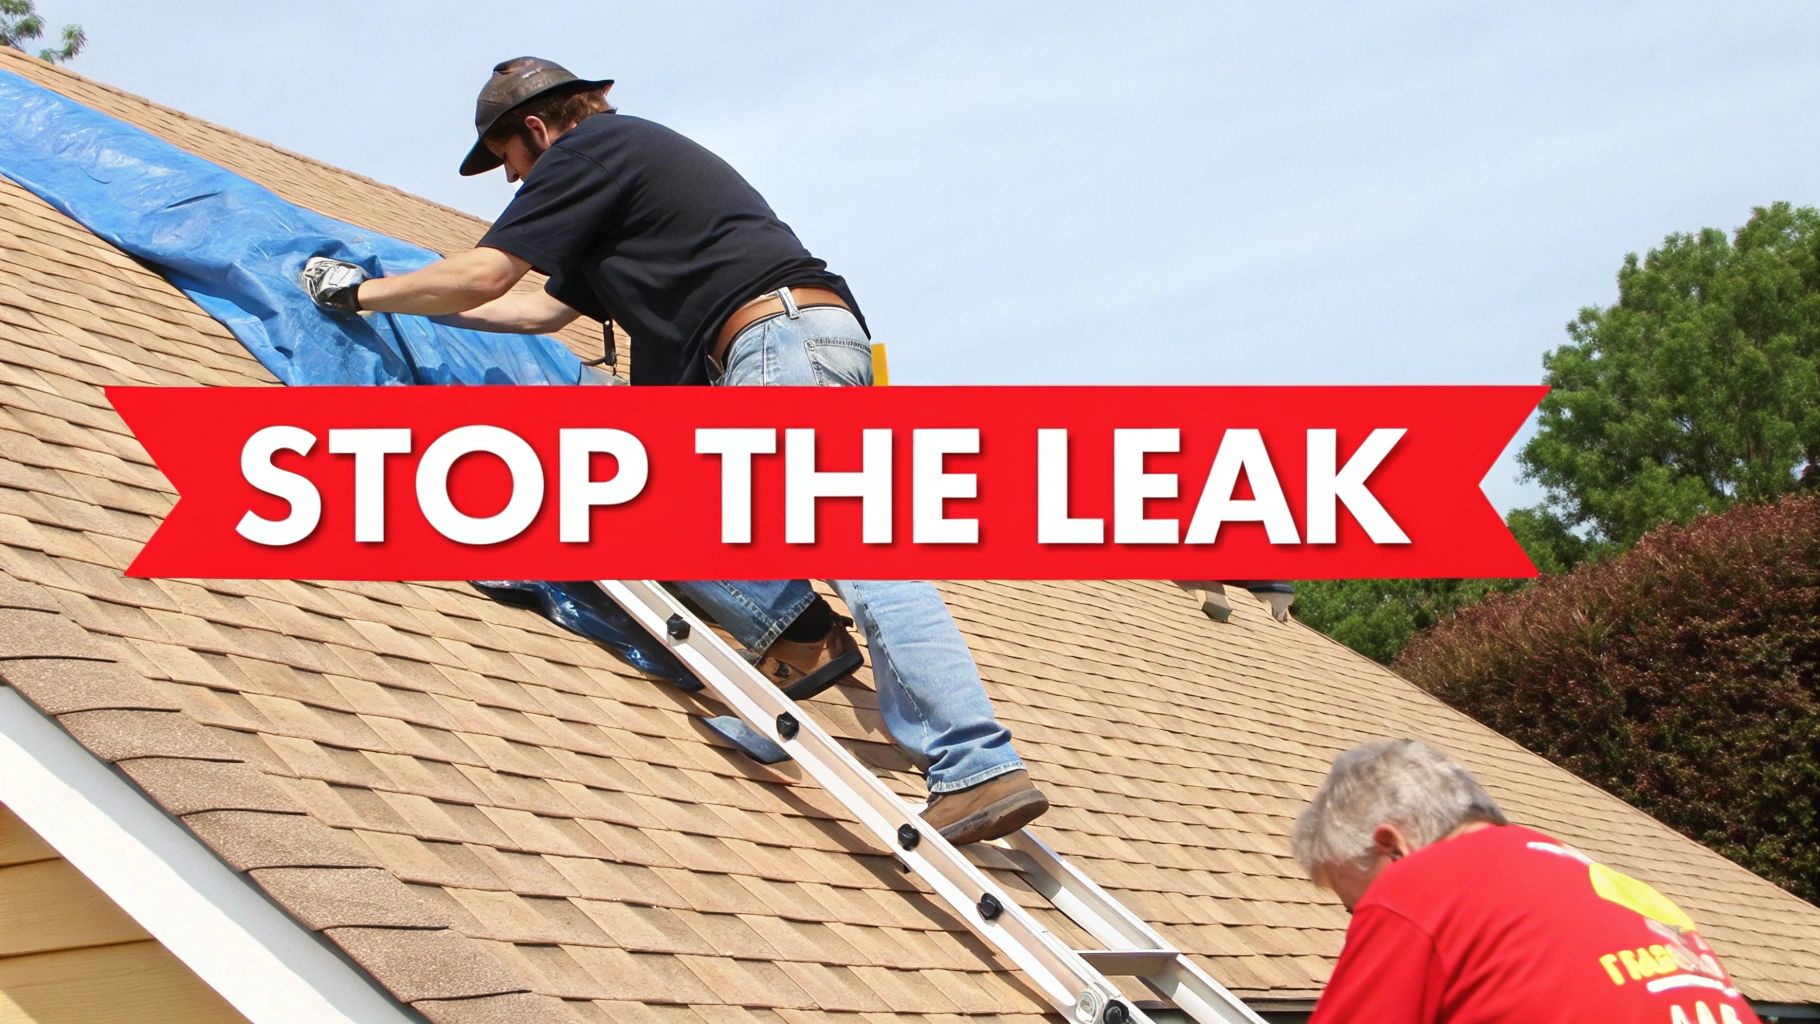
| 3: Temporary Patch | Secure a heavy-duty tarp over the damaged area, extending well beyond the hole. | Create a temporary, watertight seal to stop water intrusion immediately. |
This systematic approach takes the guesswork out of the initial response, helping you protect your home while you figure out the next steps for a permanent solution.
First, Assess the Situation From the Inside
Don't head straight for the roof. Your investigation should start in the attic. Grab a good flashlight and look for the classic signs of a leak: damp insulation, dark water stains on the wood, or even an active trickle of water.
Keep in mind that water rarely drips straight down. It often runs along roof decking or rafters before finding a spot to fall through. You have to play detective and trace the water trail "uphill" to find where it's actually getting in. This is a critical step for knowing exactly where to patch. For more on tracking down water issues, a comprehensive homeowner's guide to repairing water leakage can offer some great insights.
Next, Apply a Temporary Emergency Patch
Once you have a good idea of where the hole is, it’s time to get a temporary cover on the roof. I can't stress this enough: this is a stop-gap measure, not a repair. A heavy-duty tarp is your best bet here.
You’ll want to spread the tarp out over the damaged area, making sure it goes at least four feet past the hole in every direction. Always run the tarp over the peak of the roof above the leak; otherwise, water will just flow right under it. Use 2x4s or sandbags to weigh the edges down instead of nailing into the roof—the last thing you want is more holes. This is a crucial step, and you can learn more about the specifics in our guide to https://arizonaroofers.com/resources/roofing-faqs/emergency-roof-repair/.
A properly installed temporary tarp can protect your home for weeks, even months, giving you the necessary time to arrange for a safe, permanent repair without the pressure of an active leak.
By taking these immediate steps, you regain control. You’ve contained the damage and bought yourself the breathing room needed to tackle the permanent fix correctly.
Getting Your Roof Repair Tools and Materials Together
Walking into a hardware store without a list is a sure-fire way to end up making three trips. Before you even touch a ladder, getting the right tools and materials laid out is absolutely critical for a safe, effective roof repair. This isn't just about a hammer and some nails; it's about knowing why you need specific items for a patch that will actually last.
Think of it like this: using standard indoor caulk on a roof is like patching a tire with a band-aid. It might look okay for a minute, but it's going to fail, and probably at the worst possible time. The right gear ensures your fix can handle Arizona's blazing sun, monsoon downpours, and everything in between.
First Things First: Safety Gear
Your safety is the only thing that matters when you're up on a roof. Don't even think about cutting corners here. The ground looks a whole lot harder from two stories up.
- Fall Protection Harness: This is non-negotiable. A properly fitted harness, securely anchored, is your literal lifeline if you lose your footing.
- A Solid Ladder: Make sure it's rated for your weight and set it up on level ground. Always follow the 4-to-1 rule: for every four feet of height, pull the base one foot away from the wall.
- Good Boots: You need non-slip, soft-soled boots. That extra grip on a sloped, shingled surface can make all the difference.
- Safety Glasses & Gloves: Protect your eyes and hands from flying debris, sharp metal edges, and sticky sealants.
The Essential Toolkit
Once you've got your safety gear sorted, it's time to build your toolkit. These are the tools that will let you work cleanly, removing the damaged sections and putting the new materials in place securely.
For example, a flat pry bar is your best friend for getting under shingles without cracking the ones around them. A big, clumsy crowbar will just create more work for you by causing collateral damage.
One of the most common DIY mistakes I see is people showing up with half the tools they need. A sharp utility knife (with extra blades!), a good hammer, and a chalk line are just as crucial as the shingles for a clean, professional-looking repair.
Must-Have Repair Materials
The quality of your materials is everything. It's the difference between a patch that lasts a decade and one that fails in the next big storm. The roofing materials market is booming—it's expected to hit over $192.8 billion by 2032—because homeowners are demanding more durable, long-lasting options.
Asphalt shingles are still a go-to for many DIY repairs because they're affordable and relatively easy to work with. For more info on material trends, a great resource is ConsumerAffairs.com.
Here’s your shopping list:
- Matching Shingles: Always buy more than you think you need. Trust me, you'll be glad you have extras.
- Roofing Sealant or Cement: This stuff is made to stay flexible through extreme heat and cold, unlike basic caulk.
- Galvanized Roofing Nails: The special coating prevents them from rusting out and creating a brand new leak.
- Underlayment (Tar Paper): This is your roof's secondary line of defense against water. Don't skip it.
- Flashing: You’ll need this if your repair is near a chimney, vent, or where two roof planes meet in a valley.
Getting everything organized and ready on the ground first will make the actual repair process go smoother, safer, and give you the best shot at getting it right the first time.
Repairing Holes in Different Types of Roofs
How you fix a hole in your roof comes down to one thing: what it's made of. You can't use the same technique for asphalt shingles on a tile or metal roof and expect it to work. Getting this right is the difference between a permanent, weatherproof fix and a recurring headache every time it rains.
Let's get into the nitty-gritty. I'll walk you through the specific repair process for the most common roofing materials we see here in Arizona. Whether you have classic shingles, tough metal panels, or those iconic clay tiles, the right approach is everything.
Fixing a Hole in an Asphalt Shingle Roof
Asphalt shingles are popular for a reason—they're affordable and generally easy to work on. But a proper repair is more than just smearing roofing cement over the problem. The real goal is to weave in a new shingle so seamlessly that it functions just like the original.
First, you'll need to get the damaged shingle out. Grab a flat pry bar and gently work it under the shingles in the row above the damaged one. This lets you access the nail heads. Once you pop those nails out, the bad shingle should slide right out without a fight.
Before you put anything new down, take a close look at the exposed roof decking. If the wood feels soft, looks dark, or is spongy to the touch, you’ve got rot. That section of decking has to be cut out and replaced before you do anything else. Simply covering it up is asking for major problems later.
With the decking solid, cut a new piece of underlayment to cover the area. Make sure to tuck the top edge under the existing underlayment to create an overlap. Now, slide the new shingle into position, align it with its neighbors, and secure it with four galvanized roofing nails. To finish the job, put a small dab of roofing cement over each nail head and under the tabs of the shingles above to create a fully watertight seal.
Repairing a Damaged Metal Roof
Metal roofs are tough as nails, but they aren't completely bulletproof. A heavy falling branch or storm debris can definitely leave a puncture. When fixing a metal roof, you have to be precise, because even a tiny flaw in the seal will find a way to leak.
For smaller punctures, the fix is straightforward. Start by getting a wire brush and scrubbing the area around the hole to get rid of any rust, dirt, or flaking paint. Then, wipe the surface with a solvent like denatured alcohol. This step is non-negotiable—you need a perfectly clean, oil-free surface for the sealant to grab onto.
One of the biggest mistakes I see is people skimping on the prep work for a metal roof patch. If the sealant doesn't have a perfectly clean, dry surface to bond to, it's going to peel away and fail, sometimes within a single season.
Apply a quality metal roofing sealant right into and around the hole, using a putty knife to feather it out. For an even stronger repair, you can embed a small piece of fiberglass mesh into the wet sealant, and then trowel another layer of sealant right over the top. This creates a reinforced patch that can expand and contract with the metal. For a more detailed guide, check out these excellent tips on repairing a hole in a metal roof system.
Addressing Holes in Tile Roofs
Clay and concrete tile roofs are a different animal entirely. The tiles themselves rarely get punctured; instead, they crack, chip, or break completely. The real threat here is what that broken tile exposes: the underlayment, which is your roof's primary water barrier.
Repairing a tile roof always starts with carefully removing the broken piece. This can be tricky since tiles are often interlocked. You'll need to gently lift the overlapping tile in the row above to create enough wiggle room to slide the broken one out.
Once the tile is out, you can see the underlayment. Inspect it carefully for any tears or holes. If you find damage, you must patch it with roofing cement and a new piece of felt paper before moving on. A compromised underlayment guarantees a leak, no matter how good the tile on top looks.
After the underlayment is patched, you can slide the replacement tile into place. Make sure it interlocks correctly with the tiles around it. Depending on the specific type of tile, you might secure it with a dab of tile adhesive or a single nail driven through the pre-drilled hole. For a deeper look into the specifics of this material, take a look at our guide on the best practices for effective tile roof repair. Every roof type has its own set of rules, and following them is the only way to ensure a repair that lasts.
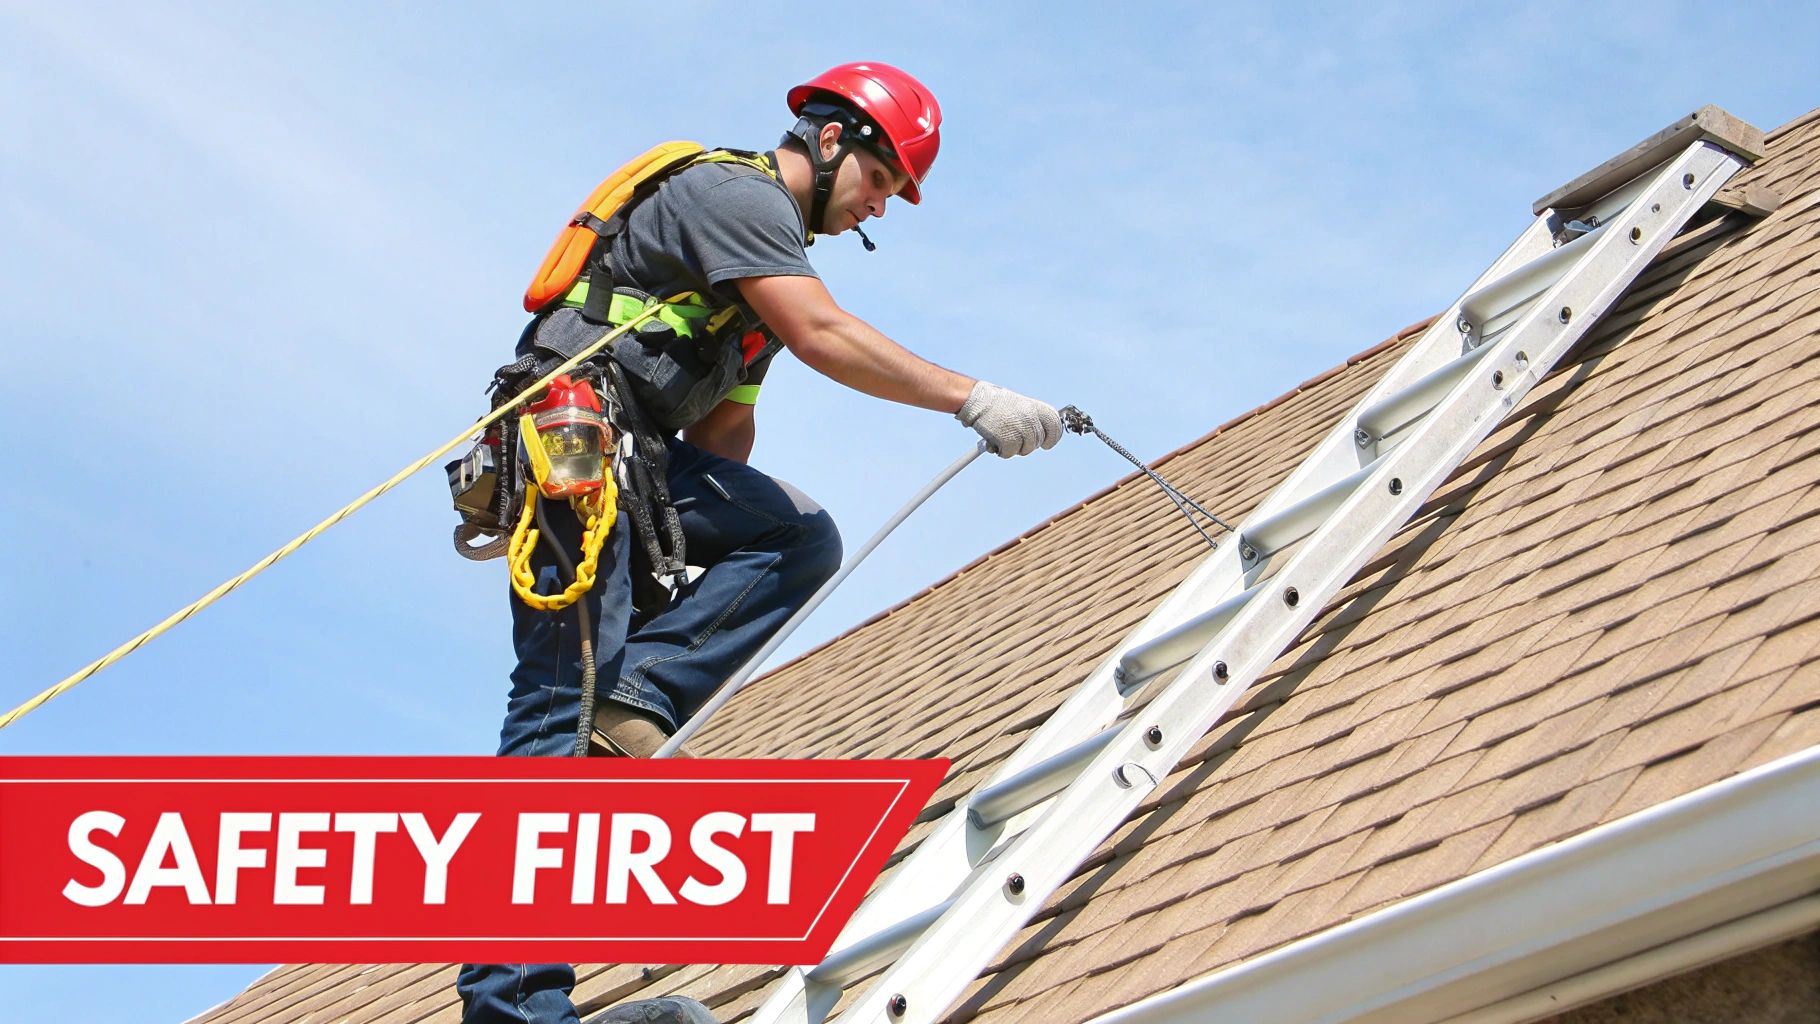
Prioritizing Safety When Working on Your Roof
Let’s get one thing straight: deciding to fix a hole in your roof yourself means you’re taking on one of the most dangerous home improvement jobs out there. This isn’t about being a little extra careful; it’s about having a serious safety plan to prevent a life-changing accident. One misstep is all it takes.
Before you even touch a tool, your entire focus needs to be on safety. Every single move, from planting your ladder to taking that first step onto the roof, has to be deliberate.
Your Ladder Is Your Lifeline
Getting up there starts with the ladder, and its stability is everything. Always, and I mean always, set your ladder on solid, level ground. Don't even think about using random rocks or boards to even it out.
The rule of thumb we live by in the field is the 4-to-1 rule. For every four feet you go up, the base of the ladder needs to be one foot out from the wall. This angle is the sweet spot for stability—it keeps the ladder from kicking out at the bottom or tipping back. And make sure it extends at least three feet above the edge of the roof. That gives you something solid to grab onto when you’re getting on and off.
Gear Up for Safety
With the ladder set, your personal protective equipment (PPE) is your next layer of defense. This stuff isn't optional.
- Fall Protection Harness: A good harness, fitted correctly and anchored to a solid point on the roof, is your absolute best friend. Don't just throw it on; learn how to use it and anchor it properly before you climb.
- The Right Shoes: You need soft-soled boots with a serious grip. They stick to shingles better and are less likely to cause damage.
- A Ground Person: Never, ever work on a roof alone. Having a spotter on the ground is critical. They can secure the ladder, call for help in an emergency, and pass you tools so you aren't constantly shifting your weight.
A sudden gust of wind can feel like a gentle breeze on the ground but can easily knock you off balance when you're 20 feet up. Always check the forecast and reschedule if it's windy.
Stay Alert Up Top
Once you're actually on the roof, the game changes. It's easy to get tunnel vision and focus only on the repair, but you have to stay aware of your entire surroundings.
Look up and look around. Overhead power lines are a silent killer that too many people forget about. Also, keep an eye out for vents, skylights, and other things you could trip over. Keep your tools tidy and in one spot—a clean workspace is a safe workspace. Treat roof work with the respect it demands, and you can get the job done without becoming another statistic.
Knowing When to Call a Roofing Professional
There’s a real satisfaction in fixing something on your own, especially on your house. But a smart homeowner knows their limits. Deciding to call in a pro isn't giving up—it's making the right call to protect the most critical part of your home.
While tackling a small project yourself feels great, some roofing jobs come with risks that just aren't worth the reward. A simple patch on a single-story, low-slope roof? That’s one thing. But when you’re looking at major damage or a complex roof, you're in a completely different league.
Red Flags That Scream "Call a Pro"
The key is to recognize the warning signs of a much bigger problem. Spotting these issues early can save you from turning a small headache into a full-blown disaster. If you see any of these during your inspection, it's time to put down the tools and pick up the phone.
- Spongy or Soft Decking: Press on the wood sheathing under your shingles. If it gives way, feels soft, or seems damp, you've got rot. This isn't just a surface issue; the roof's structural integrity is at risk. A pro needs to replace that compromised decking.
- Widespread Granule Loss: Finding a ton of shingle granules in your gutters is a bad sign. Those little specks are your roof's sunscreen. Once they’re gone, the shingles get brittle and fail fast, meaning the roof is likely at the end of its life.
- Multiple Leak Points: One leak is a repair job. Finding three or four different leaks points to a systemic failure in the roofing material or underlayment. You need an expert to diagnose the root cause.
- The Problem is Beyond Your Comfort Zone: Is the roof incredibly steep? More than one story high? Do you just feel uneasy up there? That’s more than enough reason to call for help. No repair is worth a trip to the emergency room.
A professional roofer does more than just plug the hole you can see. They hunt down the real cause. They’ll spot subtle problems with flashing, ventilation, or underlayment that a DIYer would almost certainly miss, preventing the next leak before it even starts.
The Cost Equation: DIY vs. Professional Repair
Roof holes are a common problem, and the cost to fix them can be all over the map. The global market for roof repair is huge—projected to hit $52.27 billion by 2031—which tells you just how often homeowners face these issues. You might spend $50-$100 on materials for a minor DIY patch. A professional, on the other hand, will likely charge between $200 and $500 for that same small repair. That price covers their expertise, liability insurance, and a warranty on their work. You can get more insights on the roof repair service market dynamics on infinitymarketresearch.com.
When weighing the cost, don't forget to factor in your own time, the very real safety risks, and the potential expense of having to re-do a failed patch job later. Honestly, the peace of mind from a professional, warrantied repair is often worth every penny. If you're thinking of hiring someone, our guide on how to find a good roofer is a great place to start.
Navigating Homeowner's Insurance Claims
If a storm, hail, or a fallen tree caused the damage, your homeowner's insurance policy may cover the repair. The first thing you need to do is document everything. Immediately. Take clear photos and videos of the damage outside and the leaks inside before you do anything else.
Next, get in touch with your insurance company to open a claim. They’ll send out an adjuster to assess the damage. It’s always a good idea to have an estimate from a professional roofer ready to go, so you can compare it with the adjuster's report. Keep a folder with all your communications, photos, and any receipts for temporary fixes—those are often reimbursable. Knowing when to call in a team like AZ Roof Co can make this entire process go much smoother and help ensure you get the full coverage you deserve.
Frequently Asked Questions
How long can a temporary tarp patch last?
A properly secured, heavy-duty tarp can last for several weeks, potentially up to 90 days in ideal conditions. However, it should always be considered a short-term solution. Exposure to harsh sun, wind, and rain will degrade the material quickly. The goal of a tarp is to buy you time to schedule a permanent, professional repair, not to replace it.
Is it ever safe to repair a roof in the rain?
Absolutely not. Working on a roof during or immediately after rainfall is extremely dangerous. Roof surfaces become incredibly slippery when wet, dramatically increasing the risk of a serious fall. Furthermore, roofing sealants and adhesives require a completely dry surface to bond correctly; applying them in wet conditions will likely lead to a failed patch.
What are the subtle signs of a hidden roof leak?
Not all leaks result in an obvious drip. Be alert for subtle clues like a musty smell in the attic or upper floors, peeling or bubbling paint near the ceiling, dark stains on rafters or decking, and sagging drywall. Finding excessive amounts of shingle granules in your gutters is another warning sign that your roof's surface is deteriorating and becoming vulnerable to leaks.
Can I fix a small hole myself?
For a handy homeowner, fixing a single, small puncture on a low-pitched, single-story roof can be a manageable DIY project, provided you have the right safety gear and materials. However, if the damage is extensive, the roof is steep, or you discover underlying issues like rotted wood, it is always safer and more effective to call a professional roofer.

